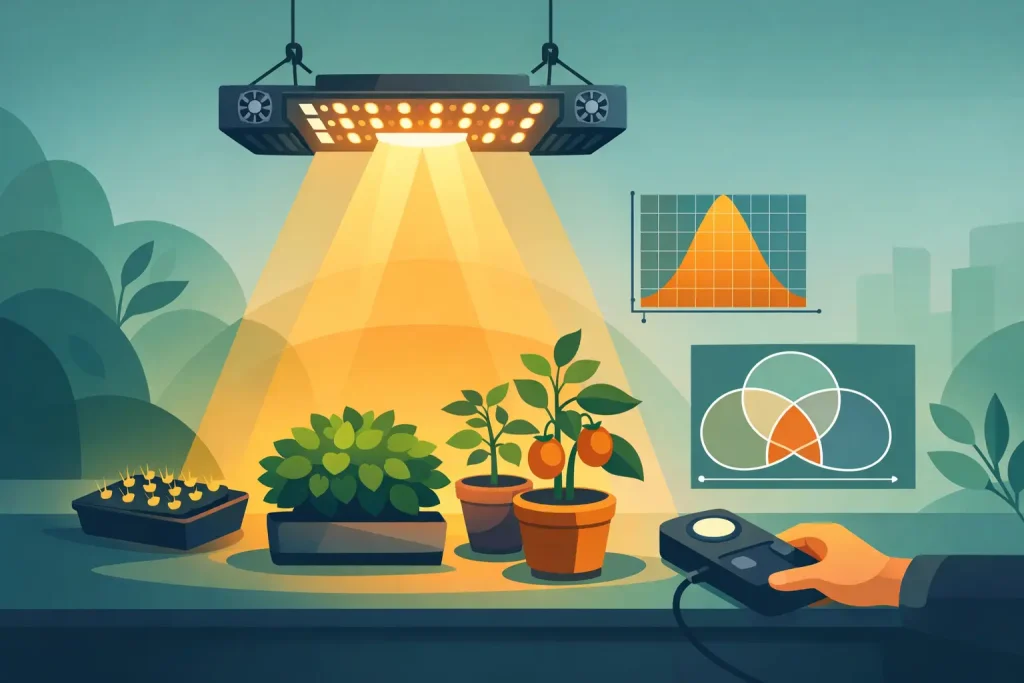
If your plants are stretching at the edges, stacking tightly in the middle and finishing unevenly across the tray, coverage is the problem before anything else. The best LED grow light coverage is not about buying the biggest fixture you can afford. It is about matching light spread, hanging height, canopy depth and plant count to the space you actually run.
A lot of growers still shop by wattage first and footprint second. That is backwards. A fixture can be efficient, high output and still give poor results if the spread does not suit the tent, room or bench. Good coverage means consistent PPFD across the productive canopy, without hot spots in the centre or weak corners that never catch up.
What best LED grow light coverage really means
In practical terms, coverage is the usable area where your fixture delivers enough light for the crop stage you are in. Seedlings and cuttings can work happily under a lower intensity spread. Veg needs more. Flowering needs the most uniform and sustained output, especially if you are trying to fill the full footprint rather than just keep a few plants alive.
That is why advertised coverage figures can be misleading. Many manufacturers quote one footprint for veg and a smaller one for flower. Both may be technically true, but they are not interchangeable. If a light is sold as covering a 1.2 m x 1.2 m area for veg, that does not automatically mean it is the right fixture for flowering wall to wall in the same space.
The more useful question is simple: what PPFD is the fixture producing at canopy level across the whole footprint, and how even is it?
Why fixture shape matters as much as output
One reason bar-style LEDs have become popular is that they solve a common coverage problem. A compact board or centralised cluster tends to create a stronger centre and weaker perimeter. That can still work well in smaller tents, especially where plant numbers are modest and the canopy is carefully managed. But once the footprint gets wider, the spread pattern matters more.
A multi-bar fixture pushes light out across the full area more evenly. That usually means less shading, better corner performance and more flexibility with hanging height. For a square tent, a square or near-square spread is normally the cleanest fit. For longer benches or rectangular tents, linear bar fixtures often make more sense than trying to force a square pattern into an oblong area.
There is a trade-off, of course. Larger bar fixtures cost more and take up more headroom. In a low tent, a powerful fixture with poor dimming control can create intensity issues quickly, especially during propagation and early veg.
Best LED grow light coverage by tent size
For a 60 cm x 60 cm tent, coverage is usually straightforward. A compact full-spectrum LED with sensible dimming is often enough, provided the driver and diode layout do not create an intense centre directly over a small canopy. In these spaces, too much light is often a bigger risk than too little.
For an 80 cm x 80 cm or 1 m x 1 m tent, the fixture choice becomes more important. This is where growers often under-light flower or overestimate what a small board can do. A fixture may physically light the area, but productive flowering coverage is different from simply illuminating the tent.
At 1.2 m x 1.2 m, evenness becomes a serious consideration. Many growers trying to flower a full 4×4 equivalent footprint get better results from a bar-style unit than a single-point source. The canopy fills out more evenly, and environmental control becomes easier because fewer tops are being pushed hard in one central zone.
For 1.5 m x 1.5 m and larger areas, one oversized light is not always the cleanest answer. Multiple fixtures can produce better uniformity, improve maintenance access and let you tailor intensity across zones. That matters if one side of the room runs warmer, if plant sizes vary, or if you stagger crop stages.
Hanging height changes coverage more than most growers expect
A light hung too low narrows the effective footprint and increases central intensity. A light hung higher spreads photons over a larger area, but intensity drops unless the fixture has enough output to compensate. That is the balancing act.
Growers chasing the best LED grow light coverage often make the mistake of hanging a fixture high to fill the footprint, then wondering why flowering performance softens. The spread looks better to the eye, but the canopy is not receiving enough usable light. On the other side, dropping a fixture low to hit target PPFD in the middle can leave the edges underlit and create stress at the tops.
This is where dimming matters. A good dimmable LED gives you room to raise the fixture for better spread while adjusting output to keep canopy intensity in the right range. Without dimming, you are forced to solve every problem with hanging height alone, which is rarely ideal.
Canopy management affects coverage as much as the light itself
No fixture can compensate for a poor canopy. If one plant is 20 cm taller than the rest, that top gets the strongest light while shorter plants sit in weaker zones. Coverage is measured across a plane, not across a random set of plant heights.
Training methods such as topping, low-stress training and netting are not just about shaping plants. They are ways of making better use of your light map. A flatter canopy lets you run the fixture at a height and intensity that suits the full crop rather than a few dominant tops.
This is one reason coverage claims should always be read alongside your cultivation style. A Sea of Green setup with many even tops uses light differently from a small number of larger, untrained plants. The fixture may be the same, but the usable coverage is not.
Don’t confuse human brightness with plant performance
LEDs can look very bright and still be the wrong fit for the area. Plants do not care how bright the room appears. They respond to photon density in the correct spectrum and over the right duration. That is why PPFD and uniformity matter more than visual brightness or basic wattage claims.
If you are comparing fixtures, look beyond headline output. Check the suggested flowering footprint, the recommended hanging height, the dimming range and whether the design spreads diodes across the whole fixture or concentrates them in one area. Also consider thermal management. Excess heat at the fixture can reduce headroom and limit how close you can safely run it.
Coverage for veg and flower should be treated differently
Vegetative growth gives you more tolerance. Plants can still perform under a wider range of intensities, and a fixture that covers the whole tent for veg may be perfectly serviceable. Flowering is where weak coverage shows up properly – lower sites lag behind, edge plants produce lighter development, and crop consistency drops.
So when selecting a fixture, buy for flowering coverage if that is the end goal. It is better to dim a correctly sized light in veg than to run an undersized unit flat out in flower and still leave performance on the table.
For mixed-use spaces, especially where propagation, veg and flower all happen at different times, modularity helps. Separate fixtures or independently controlled zones can make more operational sense than one large fixed-output unit.
Common mistakes when choosing LED coverage
The first mistake is relying on old HPS thinking. LED layouts behave differently, and a direct watt-for-watt comparison does not tell you much about spread or canopy penetration.
The second is trusting the maximum footprint on the box without checking whether it refers to veg or flower. The third is ignoring tent height. A powerful fixture in a short tent can be awkward to run properly, particularly once filter, fan and hanging hardware eat into the available space.
Another common issue is trying to cover too much area because the plants looked fine in early veg. By the time the canopy fills and flowering demand increases, the edge weakness becomes obvious. At that point, the fixture is not suddenly worse – the crop has simply outgrown the light map.
How to choose the right coverage for your setup
Start with the flowering footprint you genuinely need, not the maximum area you might use one day. Measure the actual productive canopy area after accounting for fans, poles, reservoirs and access space. Then choose a fixture that is intended to flower that footprint evenly, with enough dimming range to stay flexible through propagation and veg.
Next, think about fixture format. In smaller tents, a good compact LED can still be the right buy. In larger tents and rooms, bar fixtures often justify the extra spend through more even output and easier crop steering.
Finally, match the light to the way you grow. If you run flat, trained canopies, you can take advantage of wider, more uniform coverage. If your plant heights vary, or you grow a mix of cultivars with different stretch patterns, it may be worth splitting the area into zones rather than forcing one fixture to do everything.
Hydroponic Centre customers usually already know this from experience: one weak part of the room can drag down the whole run. Coverage is not a spec to skim past. It is one of the main reasons two growers with similar wattage get very different results.
If you are unsure between two fixture sizes, the safer option is usually the one that gives proper flowering coverage with dimming headroom. It is easier to turn a light down than to invent photons at the edge of the canopy when the room is full.