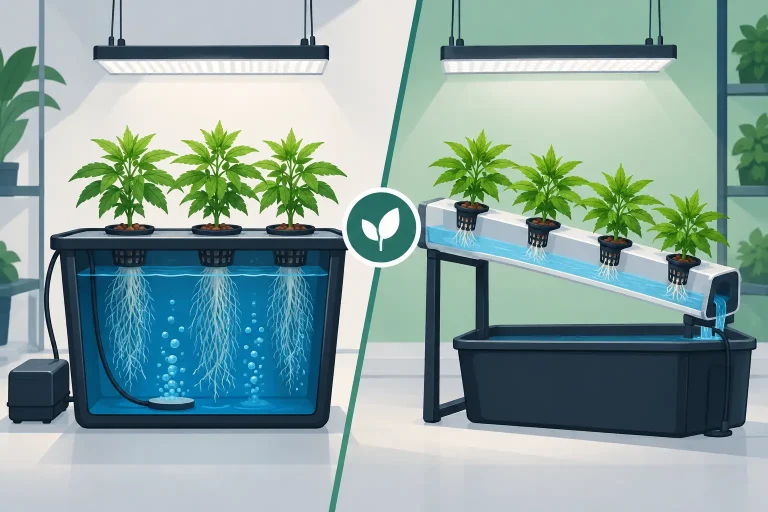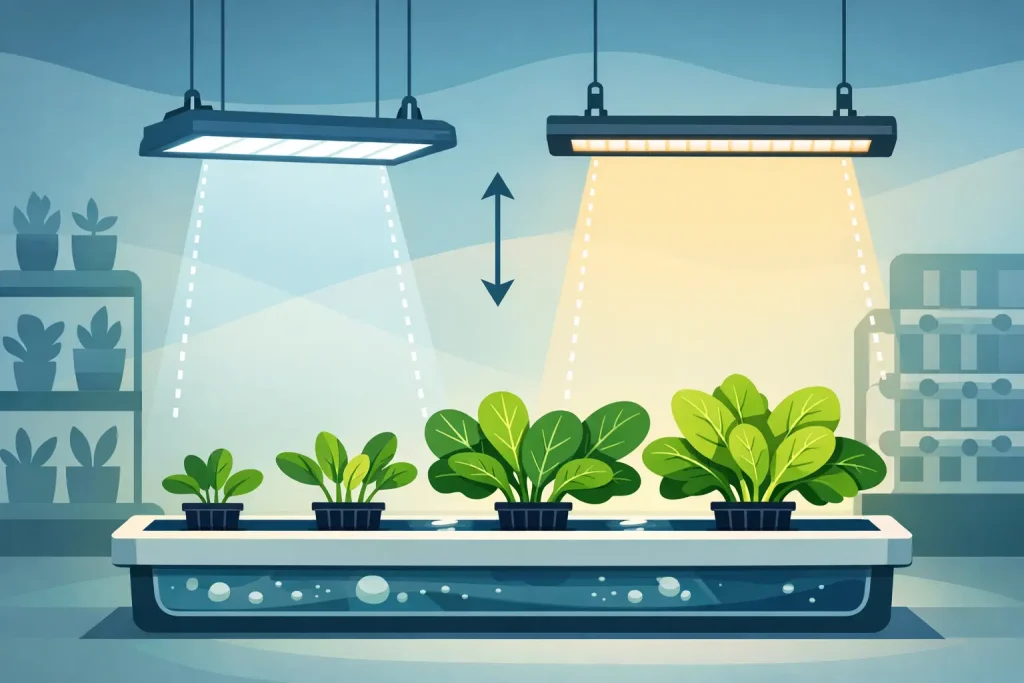
If your canopy is bleaching at the top while lower growth stretches, the issue is usually not the fixture – it is the gap between the light and the plant. A proper hydroponic lighting distance guide helps you hold intensity in the usable range, reduce hotspots, and keep development even across the canopy.
Why lighting distance matters more than growers think
In hydroponics, plants can grow fast enough to turn a safe lamp height into a problem within a few days. A fixture that was correctly set on Monday can be too close by the weekend, especially in aggressive vegetative growth or during the early stretch in flower. That is why distance is not a one-time setup job. It is part of routine grow-room management, alongside feed strength, irrigation frequency, airflow and temperature.
Light intensity drops as you move the fixture away from the canopy, but coverage improves. Move the light closer and you increase intensity, but you also narrow the sweet spot and raise the risk of bleaching, tacoing leaves, excess transpiration and canopy stress. There is always a trade-off. The right distance is the point where your plants are getting enough usable light without creating avoidable heat or light damage.
The fixture type matters as well. Modern LED grow lights, double-ended HPS units, CMH systems and fluorescent propagation lighting all behave differently. A small LED bar fixture in a propagation area can sit much closer than a high-output flowering LED or a powerful HPS fitting. Treating all lights the same is where many setups go off course.
Hydroponic lighting distance guide by fixture type
There is no single number that works for every room, but sensible starting ranges make setup much easier.
LED grow lights
For seedlings and cuttings under low-power LEDs, around 30 to 45 cm above the canopy is often workable. For vegetative growth under stronger full-spectrum LED fixtures, many growers start around 40 to 60 cm. In flower, high-output LEDs are commonly run at 30 to 45 cm, but only if the fixture is designed for that intensity and the environment can support it.
The key issue with LED is that wattage alone tells you very little. Diode efficiency, lens angle, driver output and fixture design all affect usable intensity. A 600W equivalent marketing label is less useful than proper PPFD guidance from the manufacturer. If your fixture includes dimming, use it. It is often better to keep the fitting at a sensible height and adjust power than to run it too close to the crop.
HPS lighting
HPS systems throw more radiant heat toward the canopy than most LED fixtures, so distance usually needs to be greater. A 250W HPS may run safely around 30 to 45 cm above the canopy. A 400W unit often needs 40 to 50 cm. A 600W HPS commonly sits around 45 to 60 cm, while 1000W fixtures may need 60 cm or more depending on reflector design, extraction and ambient temperature.
Air-cooled reflectors change the picture slightly, but they do not remove the need to watch the canopy. If upper leaves are crisping, paling or curling upward while room temperature appears acceptable, radiant heat can still be the cause.
CMH and fluorescent lighting
CMH fixtures often sit somewhere between LED and HPS in practical distance, with many growers starting in the 45 to 60 cm range and adjusting from plant response. T5 fluorescent fixtures for propagation can be much closer, often around 10 to 20 cm, because intensity and heat output are lower. These are useful for clones, seedlings and early veg, but they do not replace high-intensity flowering lights in a serious production setup.
Growth stage changes the correct distance
A hydroponic lighting distance guide only works if you match distance to plant stage. Young plants have limited root mass and lower tolerance for high intensity. They need enough light to avoid stretching, but not so much that leaf tissue is stressed before the plant is established.
In propagation, keep intensity moderate and focus on uniformity. Once rooted and actively growing, plants can handle more. During vegetative growth, the aim is compact structure, good internodal spacing and even lateral development. If plants are stretching despite correct environment and nutrition, the fixture is usually too far away or underpowered.
Flowering needs the most attention. Plants demand higher intensity, but the stretch phase can close the distance quickly. This is where many growers run into bleaching or foxtailing at the tops. If you are moving from veg to flower under the same fixture, do not assume your previous height is still safe. Recheck after the first few days and continue adjusting as the canopy rises.
Read the plant, not just the manual
Manufacturer charts are a useful starting point, but they are not your room. Ceiling height, extraction rate, cultivar behaviour, CO2 levels, feed strategy and irrigation style all affect how much light plants can use. The same fixture can behave very differently in two tents.
Plants tell you when the distance is wrong. Excess stretch, weak stems and wide internodal gaps usually suggest inadequate intensity. Bleached tops, leaves curling at the edges, canoeing, dry upper growth and stalled development suggest the lamp is too close or too powerful for the environment. Sometimes growers misread light stress as a nutrient issue and start changing feed when the real fix is to raise or dim the fixture.
A PAR meter gives you a much better answer than guesswork. If you manage a larger room, run multiple fixtures or are aiming for tighter consistency, proper PPFD readings are worth having. They help you map hotspots, weak edges and canopy uniformity. Without measurement, distance is still manageable, but you need to be more conservative and more observant.
Distance, temperature and airflow work together
Light height cannot be set in isolation. If canopy temperature is high and airflow is poor, a distance that should be safe on paper may still cause stress. Good oscillating air movement helps leaves transpire properly and reduces the stagnant boundary layer around the canopy. Effective extraction matters just as much, particularly under HPS or in smaller tents where heat builds quickly.
This is also why simply lifting the light is not always the best answer. If you raise the fixture too far, you may solve the hotspot but lose usable intensity across the rest of the canopy. In some rooms, the better solution is dimming, stronger extraction, improved air circulation or a more even fixture layout using bars rather than a single central point source.
Canopy management affects lighting distance
Uneven canopies make lighting far harder than it needs to be. One top can sit 15 cm closer to the fixture than the rest of the crop and take the damage first. Training methods such as topping, low-stress training, trellis support and general canopy levelling help keep more of the plant in the effective light zone.
This matters especially under high-output LED systems. Their footprint can be excellent, but only if the canopy is flat enough to use it. If you allow large height differences, you end up setting the light for the tallest tops while under-lighting everything below. The result is reduced efficiency, more larfy lower growth and less consistent flower set.
Common mistakes with hydroponic lighting distance
One of the most common mistakes is using old HID rules for modern LEDs. LEDs often need different spacing, and many growers either hang them too close because they run cooler overall, or too far because they underestimate intensity at the canopy. Another common error is setting the fixture once and forgetting it while the crop grows upward.
Poor measurement is another issue. Growers often measure from the hanging point or fixture housing rather than from the emitting surface to the canopy. That can throw off your spacing enough to matter. It is also easy to ignore edge performance. If the centre of the canopy is dialled in but the outside rows are stretching, your light map needs attention.
Finally, there is the temptation to chase maximum intensity without the rest of the system supporting it. More light requires matching environmental control, root health, irrigation timing and nutrient availability. If those are not in place, reducing intensity slightly often gives a better result than forcing the crop harder.
A practical way to set the right height
Start with the fixture manufacturer’s recommended range for your growth stage. Set the light at the more cautious end of that range, then watch the crop for 48 to 72 hours. If plants remain compact, leaf posture is healthy and there are no signs of upper-canopy stress, you can lower the fitting gradually or increase output in small steps.
Make changes one variable at a time. If you raise feed strength, increase light intensity and alter irrigation frequency all in the same week, you make troubleshooting harder than it needs to be. Professional results usually come from controlled adjustments, not constant correction.
For growers running mixed equipment, this is where buying from a specialist supplier such as Hydroponic Centre has practical value. Matching the fixture, ballast, reflector, tent size, extraction and circulation setup from the outset makes lamp distance easier to manage through the whole cycle.
The best light height is rarely the most aggressive setting your kit can deliver. It is the one your plants can actually use, every day, without stress slowing the crop down.