Miss the light cycle by a few hours and plants will tell you fast – slower growth, stress, stretched internodes or flowering that starts late or goes off track. If you are working out how to set light schedule in a tent, room or full hydroponic system, the job is less about guesswork and more about matching timer hours to plant stage, light intensity and the way your environment performs when lights are on or off.
How to set light schedule without causing problems
The first decision is simple: are you running plants for propagation, vegetative growth or flowering? Your light schedule should follow the crop stage, not just a number you have seen on a forum. In indoor cultivation, consistency matters as much as the total hours of light. A good fixture on a poor timer setup will still create avoidable problems.
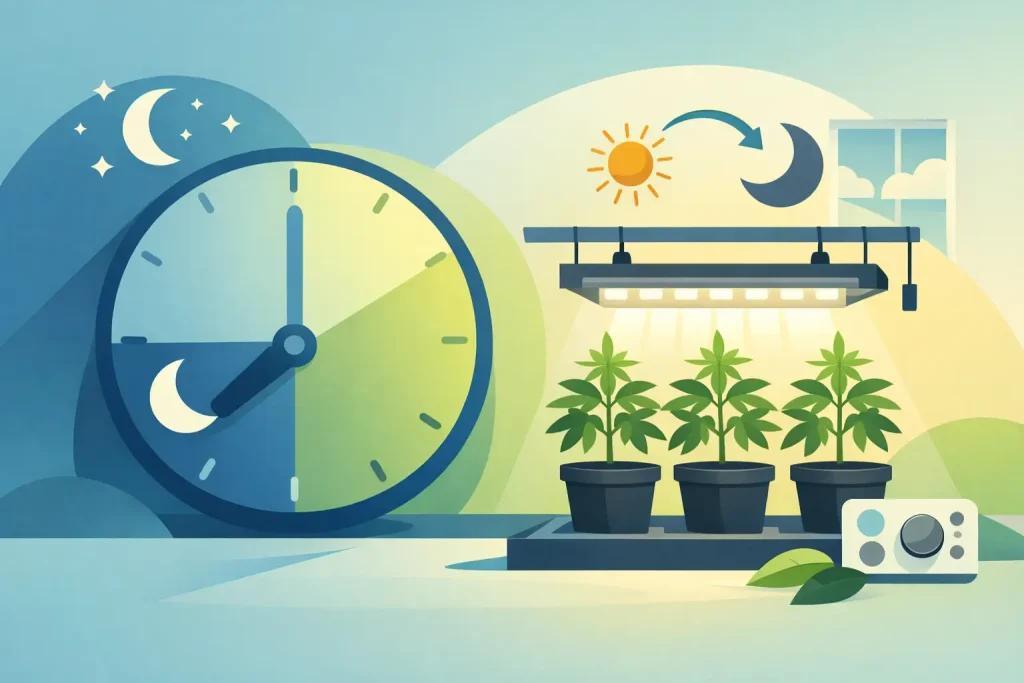
For most photoperiod crops, propagation and early veg usually sit in the long-day range. Many growers run 18 hours on and 6 hours off because it gives strong growth without pushing equipment and room temperature for a full 24 hours. Some use 20/4, and some keep clones or mothers under 24 hours, but that does not automatically make it better. More light hours can increase growth, but only if the plants can actually use that light and the root zone, feed strength and climate are all in step.
Once a photoperiod crop is ready to flower, the usual switch is 12 hours on and 12 hours off. That dark period needs to be uninterrupted. Light leaks, poor timer accuracy and manual switching are common reasons for delayed or inconsistent flowering.
Autoflowering plants are different. They do not rely on a 12/12 trigger, so growers often keep them at 18/6 or 20/4 from start to finish. The trade-off is power use and heat load. If your extraction is already working hard, the extra two hours of daily runtime may not give enough return to justify it.
Match the schedule to the stage of growth
Seedlings and cuttings
Seedlings and fresh cuttings need long light exposure, but they do not need aggressive intensity. A schedule of 18/6 is a solid starting point under LED propagation lighting or dimmed fixtures. If the light is too strong, extending the hours will not fix the issue. You are better off reducing PPFD, raising the fixture or dimming the unit.
A short dark period is useful here because it gives the room time to cool slightly and allows equipment to cycle more naturally. That can help in smaller tents where temperature and humidity move quickly.
Vegetative growth
In veg, 18/6 remains the standard because it is efficient, predictable and easy to manage with fans, extraction and irrigation schedules. If your plants are healthy, leaf posture is good and the environment stays in range, there is usually no need to complicate it.
A 20/4 cycle can make sense when you want faster turnover from vigorous plants in a dialled-in room. It can also help in cooler spaces where the extra lamp runtime supports leaf-surface temperature. The downside is obvious: more electricity, more heat, more wear on equipment and less downtime for maintenance.
Flowering
For photoperiod flowering, 12/12 is the benchmark because it reliably triggers the response most growers want. Set the timer, check it twice and then leave it alone. Switching lights on and off manually is not a serious option once flowering starts.
If the room runs hot, many growers schedule lights on during the evening and overnight period. That lowers peak daytime heat, often improves environmental stability and can reduce the strain on extraction and air conditioning. In the UK, where ambient temperatures can vary sharply between seasons, this can be the difference between a manageable flower room and one that constantly drifts out of range.
Set the timer properly from day one
If you want to know how to set light schedule in practical terms, start with the timer rather than the light itself. Mechanical timers are simple and cheap, but they can drift or get knocked out of position. Digital timers give better accuracy and usually offer battery backup, which is useful after a power cut.
Plug the timer into a reliable mains supply, then connect the lighting system according to the power load. Large HID or LED setups may need a contactor timer instead of a domestic plug-in timer. If the total draw exceeds what the timer is rated for, you are creating a failure point. This is basic kit matching, but it gets overlooked.
Set the on and off times to suit your room conditions. For example, if heat is your main issue, a night-on schedule often makes more sense than lights running through the middle of the day. If you are working around access and maintenance, schedule the dark period when you are least likely to need to enter the room.
After programming the timer, run a full 24-hour check. Confirm that the fixture comes on at the correct time, shuts off cleanly and does not flicker or reset. If you use separate controls for light, extraction and circulation, make sure they work together rather than against each other.
Light hours are only part of the job
A schedule that looks right on paper can still underperform if intensity and environment are off. Eighteen hours under an underpowered lamp will not match eighteen hours under a properly sized LED fixture at the correct hanging height. Likewise, twelve hours of flowering light in a room with poor air exchange and high night-time humidity is asking for trouble.
Think of the schedule as part of a wider operating window. When lights are on, canopy temperature rises, transpiration increases and nutrient uptake changes. When lights go off, temperatures drop and relative humidity often rises. Your timer therefore affects more than growth rate – it affects VPD, irrigation demand and dehumidification load.
That is why some growers shift feeding times or irrigation events to line up with lights-on periods. Plants generally use water and nutrients more actively under light, so your schedule should support the rest of the system. In coco, DWC, flood-and-drain or run-to-waste, that timing can make a real difference to consistency.
Common mistakes when setting a light schedule
The biggest mistake is changing schedules too often. Plants respond best to stable conditions. If you keep experimenting every few days, it becomes harder to tell whether the issue is the light cycle, feed programme, root-zone condition or environment.
The second is ignoring darkness during flowering. A room that looks dark to your eyes may still have enough stray light from indicators, poorly sealed tent zips or nearby equipment to interrupt the cycle. If flowering performance seems erratic, check for leaks before changing anything else.
The third is using the wrong timer hardware. High-load lighting systems need properly rated control gear. A cheap timer might work for a while, then fail at the worst point in the crop cycle.
The fourth is chasing maximum hours instead of usable light. More is not always better. If leaves are tacoing, room temperature is high or the plants are already close to their limit, increasing the light period can add stress rather than yield.
A simple schedule most growers can rely on
If you need a clean starting point, use 18/6 for seedlings, cuttings and vegetative growth, then switch photoperiod plants to 12/12 for flowering. Keep autoflowers on 18/6 or 20/4 depending on how well your environment and power costs stack up. That covers most indoor grows without creating unnecessary variables.
Then fine-tune based on what the room is doing. If temperatures spike, move the on-cycle into the night. If humidity surges in the dark period, improve extraction or add dehumidification rather than altering the crop schedule for the wrong reason. If growth is slow, check intensity and feed before assuming the plants need more hours.
Good light scheduling is not about finding a secret formula. It is about setting a repeatable cycle that fits the plant stage, the fixture, the environment and the rest of your equipment. Get that right, and everything downstream – feeding, climate control, plant structure and flowering response – becomes much easier to manage.
Set the schedule once, match it to the crop, and let the room stay consistent enough for the plants to do their job.