If your pH starts drifting for no obvious reason, the pump smells stale, or you can see a film around the waterline, it is time to deal with the reservoir rather than chase symptoms. Knowing how to clean hydro reservoir systems properly saves nutrients, protects root health and keeps irrigation hardware working as it should.
A dirty tank does more than look bad. Nutrient salts build up on the walls, organic matter settles in corners, and biofilm forms anywhere water sits warm and oxygenated. Once that starts, your pump, airlines, drippers and filters all become part of the problem. Plants then get an inconsistent feed, dissolved oxygen can drop, and root-zone issues become harder to correct.
Why reservoir cleaning matters
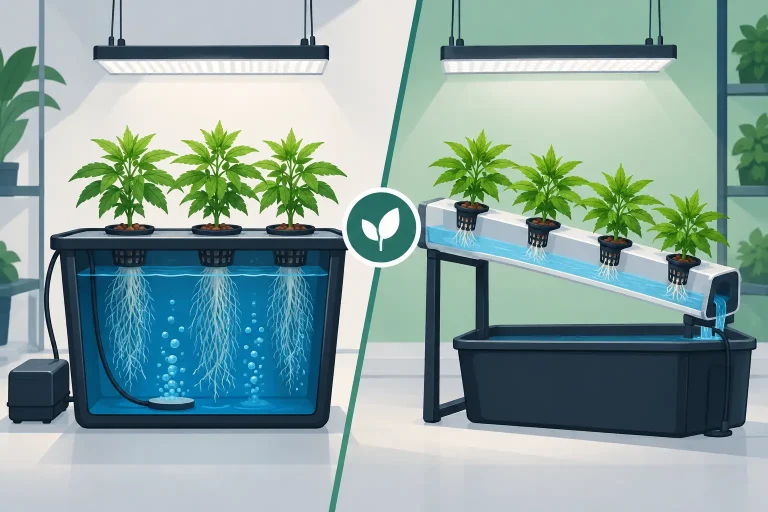
In hydroponics, the reservoir is the centre of the whole system. If the tank is contaminated, everything downstream is affected. That includes DWC buckets, recirculating systems, flood-and-drain tables, dripper lines and run-to-waste mixing tanks.
The main issue is that contamination is rarely dramatic at first. More often, performance just softens. EC readings stop behaving consistently. Water temperature becomes harder to manage. Roots lose that clean white look and take on a beige or slimy finish. You may also notice sediment in the base of the tank or crusting around pumps and fittings.
There is also a trade-off to keep in mind. Cleaning too casually leaves behind residue that keeps causing problems. Cleaning too aggressively with the wrong product can leave chemical traces that stress plants when you refill. The job needs to be thorough, but controlled.
How often should you clean a hydro reservoir?
That depends on the system, the nutrient line and how hard you are pushing the feed. For most growers, a proper reservoir clean between crop cycles is the minimum. If you are running a recirculating system, warm solution temperatures, heavy additives, or organic-based feeds, you may need to clean more often.
As a working rule, small tanks and DWC systems usually need closer attention because they fluctuate faster. Larger reservoirs are more stable, but when contamination does build up, there is simply more of it. If you are topping up repeatedly without ever fully draining and resetting, residue will accumulate even if the solution still looks usable.
A light clean during regular nutrient changes and a full clean after each run is a sensible approach for most indoor growers.
What you need before you start
Keep it simple. You need clean water, a soft brush or non-abrasive pad, clean cloths, a bucket, gloves and a suitable cleaning product designed for hydroponic equipment or food-safe surfaces. A small brush is useful for taps, corners, pump housings and grommets.
Avoid household products with strong perfumes or additives. They can leave residues you do not want in a live system. Also avoid anything abrasive enough to score plastic. Once you scratch the inside of a reservoir, residue and biofilm will cling to those marks much more easily next time.
How to clean hydro reservoir systems step by step
Start by switching off pumps, chillers, air pumps and any connected control equipment. Drain the reservoir fully. If you are mid-run and trying to recover a system rather than reset it between crops, move plants safely first or isolate the tank if your setup allows it.
Once empty, remove loose debris by hand. That means roots, sediment, leaf matter and any sludge sitting at the bottom. Do not just rinse and hope the cleaner will deal with the rest. Physical removal first makes the rest of the process much more effective.
Next, take out removable components. Pumps, air stones, filters, inlet screens, pipe sections, drippers and float valves all collect contamination. If you leave them in place, you clean the tank but keep the source of the problem in the system. Soak those parts separately if needed and scrub them properly before reinstalling.
Apply your cleaning solution to the inside of the reservoir and scrub all surfaces, especially the waterline, corners, seams, lid undersides and around outlet fittings. The waterline is where a lot of salt and biofilm collect, and it is often the area growers rush through. Give it proper attention.
After scrubbing, rinse thoroughly with clean water. Then rinse again. This matters more than the product label. Any cleaner left behind can react with nutrients when you refill. If the reservoir still smells strongly of the cleaner, keep rinsing.
For systems with feed lines, run clean water through the pipework before reconnecting everything. In drip systems and recirculating setups, contamination in the lines often outlasts the reservoir clean itself. If the lines are heavily fouled, flushing may not be enough and replacement is sometimes the more efficient option.
Before refilling with fresh nutrient solution, check seals, grommets, pump impellers and filters. Cleaning is the right time to spot cracked fittings, blocked drippers, tired air stones or pumps that are starting to fail. There is no point filling a spotless reservoir only to run it through compromised hardware.
Dealing with salt build-up, slime and staining
Not all residue is the same, so the cleaning approach changes slightly depending on what you are seeing.
Salt build-up tends to appear as chalky or crusted deposits, often around the waterline, lids, pumps and outlets. This is common when strong nutrient feeds evaporate or sit too long between changes. It usually scrubs off without too much trouble, but stubborn deposits may need soaking first.
Slime is a different issue. It points more towards biofilm, microbial growth, poor oxygenation, high solution temperature or organic matter accumulating in the system. Slime is not just a visual problem. It can restrict flow, coat roots and create unstable conditions fast. If you are dealing with slime, make sure you clean every wetted component, not just the tank walls.
Staining is often cosmetic, especially in older reservoirs. A tank does not need to look brand new to be safe to use. If the surface is clean, smooth and free from active residue, slight discolouration is not necessarily a performance issue. Chasing cosmetic perfection can lead to overuse of harsh cleaners, which is rarely worth it.
Common mistakes when cleaning a hydro reservoir
The first mistake is rushing. A quick drain and refill may buy you a day or two, but it will not reset the system properly. The second is ignoring the accessories. Dirty pumps and lines will contaminate a clean tank almost immediately.
Another common problem is mixing cleaning products or using whatever is under the sink. That is not a controlled process, and it can create residues or fumes you do not want around a working grow room. Stick to a cleaner suited to hydroponic equipment and use it exactly as intended.
Growers also tend to overlook lids and light leaks. If light is getting into the reservoir, algae and biofilm are far more likely. You can clean perfectly and still see the issue return if the tank is exposed to stray light from the room or fixture spill.
Keeping the reservoir cleaner for longer
Good cleaning helps, but good system management keeps the reservoir stable between cleans. Keep solution temperatures under control, keep light out of the tank, and avoid letting dead root matter or leaf debris sit in the system. If you are using organics or heavier additives, accept that the reservoir will need more regular maintenance than a cleaner mineral feed schedule.
It also helps to avoid endless top-ups without a full change. Topping up has its place, especially in larger systems, but if you keep adding fresh solution to an increasingly dirty tank, you are just feeding around the residue. Periodic full drains are still necessary.
Water quality matters as well. If your source water is hard or carries a lot of background mineral content, you may see faster scaling and residue build-up. In that case, your cleaning routine may need tightening up, and your filters or treatment setup may need a second look.
When a reservoir needs replacing
Sometimes cleaning is no longer the best answer. If the plastic is deeply scratched, permanently odorous, warped by heat, or impossible to sanitise around damaged fittings, replacement is often the better move. The same applies if lids no longer fit properly and let in light, or if the tank design makes it awkward to drain and scrub thoroughly.
That is not overkill. Reservoirs are core system components, and an awkward or degraded tank creates repeated labour. For serious growers, time spent fighting bad equipment usually costs more than changing it out.
A clean reservoir gives you a stable starting point. That means cleaner feeds, more predictable EC and pH behaviour, and less avoidable stress in the root zone. If the system is worth running, it is worth resetting properly before the next fill.