A pH pen that is only slightly out can turn a correctly mixed feed into a root-zone problem. Knowing how to calibrate pH pen equipment properly gives you a reliable starting point before you adjust a nutrient tank, top up a DWC reservoir or feed a run-to-waste system. It takes a few minutes, but it prevents the guesswork that leads to nutrient lockout, drifting reservoirs and inconsistent plant response.
For most hydroponic work, a two-point calibration using pH 7.01 and pH 4.01 buffer solutions is the sensible standard. The pH 7 buffer sets the meter near neutral, while pH 4 checks accuracy in the acidic range where most nutrient solutions sit. A single-point calibration can be adequate for occasional checks, but it is not the best choice for growers managing regular feeds.
What you need before you calibrate a pH pen
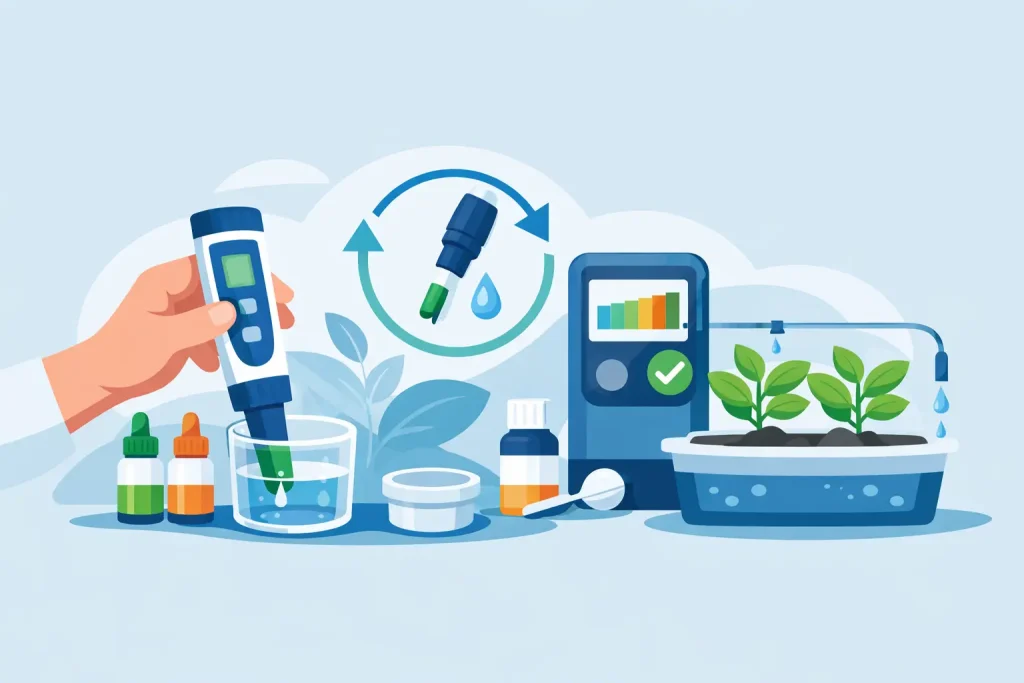
Set up on a clean, stable surface away from fans, open windows and direct grow-light heat. You need fresh pH 7.01 buffer, fresh pH 4.01 buffer, clean water for rinsing, and lint-free tissue or a soft cloth for blotting the probe. Calibration and storage solution are also different products. Do not use storage solution as a calibration buffer.
Use small, clean cups for the buffers rather than placing the probe directly in the original bottles. Once a probe has entered a cup, discard that buffer when finished. Pouring it back contaminates the bottle and can make later calibrations less reliable.
Check the pen’s instructions before starting. Some models use a CAL button and automatic buffer recognition; others require you to hold a button or manually set the reading. The order below suits most handheld digital pH pens, but the exact button sequence varies between brands.
How to calibrate a pH pen step by step
1. Inspect and hydrate the probe
Remove the cap and inspect the glass bulb and junction at the end of the probe. It should be wet, clean and free from nutrient residue. If the probe has dried out, soak it in proper electrode storage solution for several hours, ideally overnight, before calibration. A dry probe may calibrate poorly, respond slowly or refuse to hold a stable reading.
Never store a pH probe in deionised, distilled or reverse-osmosis water. Those waters can draw ions from the electrode and shorten its working life. Tap water is also not a suitable long-term storage option.
2. Rinse without rubbing the bulb
Rinse the probe with clean water, then gently blot it dry. Do not rub or wipe the glass bulb aggressively. Static charge and physical damage can affect readings, particularly on lower-cost pens with a small exposed electrode.
A quick rinse between every solution matters. Carrying traces of pH 7 buffer into pH 4 buffer may not ruin a single calibration, but repeated contamination reduces the accuracy of both solutions.
3. Calibrate at pH 7.01 first
Place the probe in the pH 7.01 buffer, ensuring the sensing bulb and junction are submerged but the meter body is kept dry. Swirl the probe gently once to dislodge air bubbles, then leave it still.
Wait for the reading to stabilise. On an automatic pen, activate calibration and allow the meter to confirm or lock onto 7.01. On a manual pen, adjust the calibration control until the display reads 7.01. Do not chase the last 0.01 while the display is still moving. Let the electrode settle first.
4. Rinse and calibrate at pH 4.01
Rinse the probe, blot it carefully and place it in fresh pH 4.01 buffer. Repeat the same process: gently swirl, wait for stability, then confirm or set the calibration point. Your pen should now be ready to measure nutrient solution accurately across the normal hydroponic range.
Some higher-specification meters offer three-point calibration with pH 10.01 as well. That third point is useful if you also measure alkaline water, cleaning solutions or other high-pH liquids. For a grower feeding coco, clay pebbles, rockwool or most recirculating systems, pH 7 and pH 4 are usually the relevant points.
5. Verify before measuring your feed
After calibration, rinse the probe and return it briefly to either buffer. It should read close to the stated value within the tolerance specified by the manufacturer. A reading within roughly 0.05 pH is generally acceptable for many handheld meters, though better pens may hold closer than that.
If the verification is well out, do not assume the nutrient tank is at fault. Start again with fresh buffers, confirm the probe is hydrated and clean, and check that the buffers have not been left open in a hot grow room.
Calibrate before you mix nutrients, not after
The most useful workflow is simple: calibrate the pen, add water to the reservoir, add base nutrients and additives in the recommended order, mix thoroughly, then measure EC and pH. Adjust pH only after the nutrients are fully mixed. Adding pH down before the feed is complete can give a false reading and make the final solution more acidic than intended.
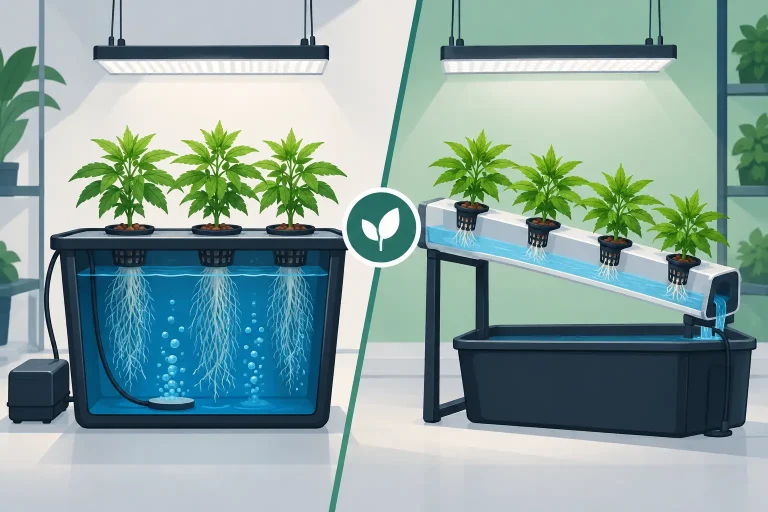
Allow the tank to circulate for a few minutes before taking a reading in larger recirculating systems. In DWC, stir or circulate the reservoir and measure away from where concentrated nutrient or pH adjuster was added. A pen can only report the liquid touching its probe, so poor mixing produces misleading numbers.
Temperature also affects pH measurement. Many pens have automatic temperature compensation, but this does not fix a cold buffer solution or a reservoir that is still changing temperature rapidly. Calibrate and test at broadly similar temperatures where practical. Do not place a pen straight from a cold shed into a warm nutrient tank and expect an immediate settled result.
How often should a pH pen be calibrated?
For active hydroponic growing, calibrate at least weekly. Calibrate before every feed session if you are mixing small batches, correcting a sensitive reservoir, using a new bottle of nutrient, or relying on the pen for commercial crop decisions. Daily calibration is sensible for heavily used meters, particularly where inaccurate readings could affect multiple tanks.
You should also recalibrate after cleaning the probe, replacing batteries, storing the pen dry, dropping it, or seeing a reading that does not make sense. If a reservoir normally sits stable but suddenly appears to swing by several tenths of a point, check the meter against buffer before reaching for pH up or pH down.
Common calibration faults and what they mean
A pen that never settles, takes several minutes to respond or drifts after calibration usually needs cleaning, rehydrating or replacing. Nutrient salts, organic additives and biofilm can coat the junction, especially in warm reservoirs. Use a suitable electrode cleaning solution, rinse thoroughly, then soak in storage solution before recalibrating.
If the pen will calibrate at pH 7 but not pH 4, the probe may be ageing or the acidic buffer may be contaminated. If both buffers are rejected, begin with new solution and charged batteries. Buffer sachets are useful for occasional growers because each one is fresh and avoids the contamination risk of repeatedly opened bottles.
Do not calibrate with improvised household liquids such as vinegar, lemon juice or bicarbonate solution. Their stated or assumed pH is not stable enough for meter calibration. The same applies to nutrient solution that has been adjusted to a target pH: it is a feed, not a reference standard.
Keep the pen accurate between calibrations
A pH pen is a consumable tool, not a fit-and-forget accessory. Rinse it after every reading, blot it dry and replace the cap with enough storage solution to keep the bulb wet. Check the cap regularly, as a loose or cracked cap allows the solution to evaporate.
Avoid measuring directly above a reservoir where condensation can enter the meter, and keep the probe away from strong pH adjuster concentrates. Measure a thoroughly mixed sample or insert the probe into the tank only after dilution and circulation. That protects the electrode and gives a reading that represents the actual root-zone feed.
A properly calibrated pH pen will not solve every plant-health issue, but it removes one major variable from the job. Keep fresh buffers and storage solution alongside your nutrients, make calibration part of each feed routine, and your pH adjustments will be based on measurement rather than assumption.