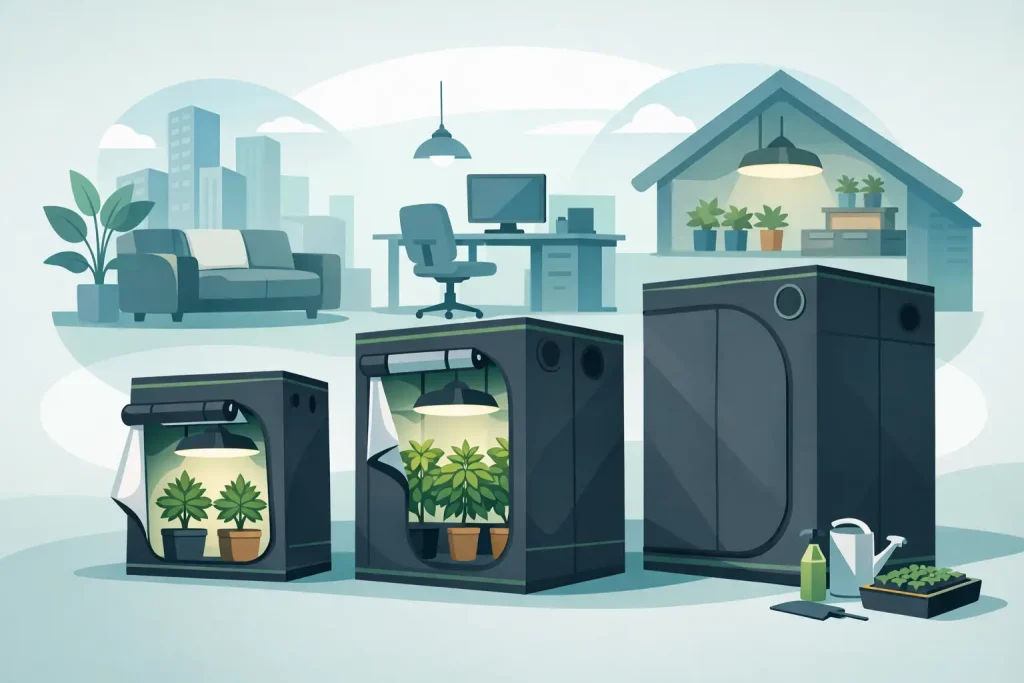
A tent that is too small creates problems long before plants fill the canopy. Filters steal headroom, ducting crowds the ceiling, reservoirs block access and a powerful light can sit too close to the crop. Grow tents should be chosen as the working envelope for the whole cultivation system, not simply as a fabric box that fits in the spare room.
For most indoor growers, the right tent makes routine work faster and environmental control more predictable. It gives lighting, extraction, circulation, irrigation and plant spacing defined boundaries. Get the footprint, height and ventilation capacity right at the start, and future upgrades become far easier.
Choose grow tents by usable space
Tent dimensions dictate more than plant count. They determine the light footprint you can run efficiently, the amount of air that must be exchanged, where equipment will sit and whether you can reach every part of the crop. Measure the intended area before buying, including door swing, access around the tent, ceiling obstructions and the route for ducting to reach an outlet.
A compact 60 cm or 80 cm square tent suits propagation, mothers, small hydroponic systems or a limited number of plants. It is economical to light and extract, but every component has to earn its space. A 1.2 m x 1.2 m tent is a common all-round flowering footprint because it accommodates a practical canopy while leaving room for a filter, fan and tray. Larger 1.5 m or 2.4 m formats make sense where a higher-output lighting layout, multiple trays or a more commercial workflow is required.
Do not calculate only from the number of containers. Allow enough room to inspect leaves, check drippers, drain run-off and remove a plant if there is a pest or root-zone issue. A full canopy with no access may look efficient on paper, but it makes crop management difficult.
Height is working room, not spare room
Height is often the limiting specification. A tent may be listed at 2 m tall, yet the usable distance from floor to light is reduced by the filter, fan, hangers, light fitting and safe clearance from the canopy. Tall-growing cultivars and high-intensity fixtures need more headroom than compact plants under a low-profile LED.
As a working rule, account for the depth of ceiling-mounted equipment before deciding whether a tent is tall enough. If a carbon filter and extractor are mounted inside, they can consume 30 cm or more. A deeper reflector or fixture may take further space. In a restricted-height room, a compact fan outside the tent or a low-profile LED can recover valuable canopy clearance, provided the duct run remains efficient.
Match the tent to the lighting system
Lighting should cover the canopy evenly rather than chase the largest possible wattage. A poorly matched fixture leaves weak edges, hot centres or unnecessary electricity use. Check the manufacturer’s recommended flowering footprint, then compare it with the internal tent dimensions rather than the external size.
For a smaller tent, one correctly sized LED usually provides cleaner coverage and easier heat management than an oversized fixture dimmed heavily. In a larger tent, two or more fixtures offer better uniformity and allow sections of the canopy to be adjusted independently. This is especially useful where plant heights vary or where propagation and vegetative areas have different requirements.
The reflective inner lining matters here. A quality, lightproof lining improves the use of available light and helps prevent outside light entering during dark periods. Look for smooth, well-fitted material without obvious gaps at seams or corners. The aim is not a mirror finish for its own sake, but consistent reflection across the crop area.
Extraction, filtration and air movement
Every indoor tent requires an extraction plan. Plants add moisture to the air, lights add heat and dense foliage creates stagnant pockets where humidity can build. An inline fan removes warm, humid air, while passive vents or an intake system replace it with fresh air. Carbon filters are used where odour control is needed.
Fan size depends on tent volume, lighting heat, duct length, bends, filter resistance and the temperature of the room supplying intake air. A fan selected only by the tent’s cubic volume may be underpowered once a filter and several metres of ducting are added. Conversely, an oversized fan running flat out can create excessive negative pressure, noise and unnecessary power use.
It is usually better to choose an appropriate fan and run it on a controller than to rely on a marginal unit at maximum speed. Temperature and humidity controllers add further consistency, especially in changing UK weather. During colder periods, bringing in very cold air can make lights-on temperatures difficult to maintain. During humid periods, extraction alone may not be enough and a dehumidifier in the surrounding room or grow space may be necessary.
Inside the tent, oscillating fans should move leaves gently and prevent still air beneath and above the canopy. Avoid directing a constant hard stream at one area. Wind stress can damage leaves and dry media unevenly, particularly in coco or smaller containers.
Fabric, frame and access details matter
A grow tent is opened, zipped, cleaned, adjusted and moved around repeatedly. Frame strength, stitching and zip quality are operational details, not cosmetic extras. A loaded ceiling can carry a filter, extractor, ducting and lighting equipment, so check the stated load rating and use suitable hanging straps. Never assume every tent frame is designed for the same equipment weight.
Inspect the number and position of duct ports. Ideally, the tent should allow extraction at high level and intake lower down without forcing sharp bends in the ducting. Spare ports are useful for electrical cables, irrigation lines and future upgrades, but each unused opening must close securely to preserve lightproofing.
A removable waterproof floor tray is equally practical. It contains minor spills from hand watering, run-off or irrigation fittings and makes cleaning between cycles simpler. Keep tray edges clear enough to inspect for standing water. Persistent dampness underneath pots can encourage root-zone problems and attracts fungus gnats.
Door layout deserves attention too. Front access may be enough for a small square tent, while larger rectangular tents benefit from multiple doors or side access. If you cannot reach the rear plants without leaning across the canopy, maintenance and harvesting become slower and more disruptive.
Plan equipment placement before the first crop
A reliable layout separates the canopy, root zone and air-handling equipment as far as the tent allows. Place the light centrally over the intended canopy. Mount extraction high, keep the filter supported securely and route ducting with the fewest possible bends. Position reservoirs where they can be filled, checked and drained without moving plants.
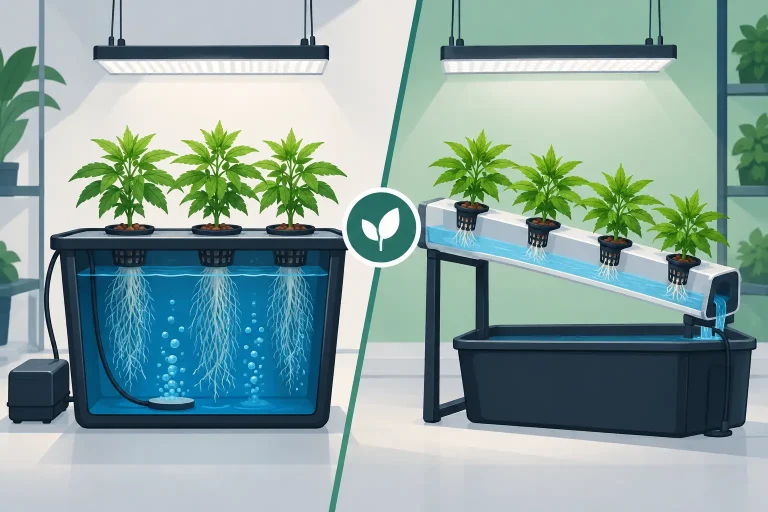
For hydroponic systems, allow space for pipework, pumps, air lines and access to the reservoir lid. A DWC system needs practical clearance around each bucket and easy access to water levels. Flood-and-drain trays require room for fittings and run-off checks. In coco or run-to-waste, plan where drainage will collect before pots are placed in the tent, not after the first feed.
Keep electrical connections elevated and away from reservoirs, trays and drainage areas. Use appropriately rated timers, controllers and extension equipment, avoid overloading sockets and form drip loops in cables where possible. A tidy layout is safer, but it also makes faults easier to identify.
When a tent kit is the better option
A complete tent kit can be the quickest route to a balanced starter setup. It normally combines a tent, light, extractor, carbon filter, ducting and basic accessories sized for the same footprint. That reduces the risk of pairing a high-output light with inadequate ventilation or ordering ducting in the wrong diameter.
Buying components separately gives more control, and it is often the better choice for growers with existing equipment or specific climate requirements. You may want a higher-grade LED, a quieter EC fan, a larger filter, irrigation automation or a different growing system than a standard kit provides. The trade-off is that every specification needs checking: fixture coverage, fan capacity, port size, frame loading and available headroom all need to work together.
Maintain the tent between cycles
Cleanliness protects the next crop. After each cycle, remove plant debris, wash trays and wipe down the lining with a suitable horticultural cleaner. Inspect zips, seams, ports and frame joints for damage. Replace worn ducting, clean fan guards and check filters according to their condition and manufacturer guidance.
A grow tent does not need to be the most expensive part of the room, but it must support the equipment and workflow you intend to run. Start with enough height, sensible access and ventilation capacity that matches the heat and humidity load. That leaves you free to focus on plant health, irrigation accuracy and canopy management rather than trying to solve avoidable space problems halfway through the crop.