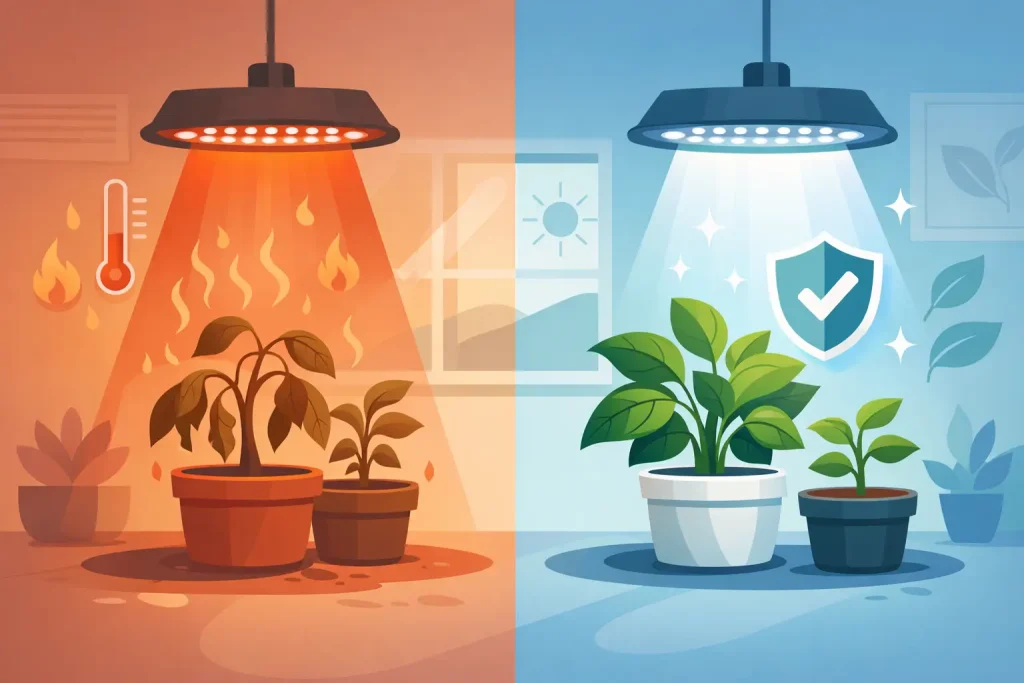
A powerful fixture hung too close can change a healthy canopy in a few days. So, can LED lights burn plants? Yes. Modern LED grow lights can cause light stress, bleaching and heat-related leaf damage when intensity, hanging height, photoperiod and climate control are not matched to the crop.
The issue is not that LEDs are inherently harsh. It is that efficient full-spectrum fixtures can deliver very high PPFD at canopy level, often with less obvious radiant heat than older HID lamps. A grower may feel a comfortable room temperature, assume the light is safe, and still expose the upper leaves to more photons than they can use.
Can LED lights burn plants in a grow tent?
They can, particularly in compact tents where the distance between fixture and canopy closes quickly during vigorous growth. Light burn is most common with high-output bar lights, quantum boards and tightly focused fixtures run at full power above established plants. Young plants, recently rooted cuttings and plants moved from weaker lighting are at greater risk because they have not acclimatised.
Strictly speaking, growers use “light burn” to describe a few related problems. The plant may receive more light energy than it can process, causing photoinhibition and pale or bleached growth. It may also suffer leaf-edge scorch because high canopy temperatures, poor air movement or low humidity raise transpiration demand. Both can occur at once.
LED fixtures can also create uneven intensity. The centre directly below a fixture may be significantly brighter than the outer canopy. A plant under the hotspot can show stress while plants only 20 cm away appear fine. That is why light height should never be set solely by copying another grower’s measurement. Fixture wattage, diode layout, dimmer setting, tent size and canopy coverage all matter.
What LED light burn looks like
The earliest signs usually appear on the top leaves and on the parts of the canopy closest to the fixture. New growth may lose its healthy green colour and turn lime, yellow or almost white. In severe cases, the leaf surface looks faded or papery, while veins remain more visible than the tissue around them.
Leaf posture is another useful clue. Leaves may point upwards sharply, with edges curling or “tacoing” towards the light. This is a protective response that reduces the leaf area exposed to intense light. If the damage progresses, margins can turn dry and brown, and upper flowers may bleach or stop developing evenly.
Light stress is easily confused with nutrient problems. Nitrogen deficiency normally starts on older, lower leaves, whereas light burn starts at the top. Calcium and magnesium issues can also affect new growth, but they tend to show spotting, interveinal yellowing or distorted leaves rather than uniform bleaching on the highest points of the canopy.
Check the pattern before changing the feed. If the affected leaves are directly beneath the light and the symptoms weaken lower down the plant, inspect intensity and environment first. Adding more nutrients to a plant already struggling with excess light often makes root-zone management harder without solving the cause.
Light burn versus heat stress
Light intensity and heat are connected, but they are not the same fault. A canopy can be too bright even when the air temperature is correct. Equally, leaves can scorch under a sensibly dimmed LED if warm air is trapped around the canopy or the extraction system is undersized.
Use a thermometer or probe at canopy height rather than relying on a reading at tent floor level. Leaf-surface temperature is more useful still, especially under high-output LEDs. Poor circulation, a blocked filter, weak extraction or a fan aimed aggressively at one plant can all compound the problem.
Low relative humidity makes matters worse. When the air is very dry, plants transpire heavily to cool themselves. Under strong light, this can lead to curled leaves, crispy tips and fast substrate dry-down. A balanced temperature and humidity range for the growth stage gives plants more capacity to use the light you provide.
PPFD, DLI and why wattage is not enough
Wattage tells you what the fixture consumes, not what the plant receives. PPFD measures the amount of plant-usable light reaching a square metre each second, expressed as micromoles per square metre per second. It is the better figure for deciding whether a canopy is being over-lit.
DLI, or daily light integral, adds the photoperiod to that measurement. A moderate PPFD over 18 hours can deliver a similar daily total to a stronger PPFD over 12 hours. This matters when switching between vegetative and flowering schedules, or when a fixture has been turned up without reducing the hours of light.
As a practical starting point, seedlings and fresh cuttings generally need low intensity. Established vegetative plants can take more, while healthy flowering plants in a well-managed environment can use higher levels. However, a high-light flowering set-up depends on adequate nutrition, irrigation frequency, root health, CO2 availability and stable climate control. More light is not a standalone yield upgrade.
A PAR meter is the most reliable way to measure PPFD and identify hotspots. It lets you map several points across the canopy, rather than assuming the manufacturer’s centre reading applies everywhere. If a meter is not available, begin conservatively with the manufacturer’s hanging-height guidance, use the dimmer, and increase output in small stages while watching new growth.
Set LED height and output safely
When installing a new LED, prioritise even canopy coverage over maximum output. Start higher or dimmer than you think is necessary, particularly with young plants or a crop that has been under fluorescent or low-power lighting. Give plants several days to respond before making another increase.
Keep the canopy level where possible. A single tall plant can sit in the light’s most intense zone while the rest of the crop receives a useful but lower level. Training, topping, trellis netting or plant risers can help create an even plane and make lighting easier to manage.
There is no universal safe distance. Many full-spectrum fixtures may operate effectively at around 30 to 60 cm above the canopy, but the correct height can sit outside that range depending on the fitting and its dimmer setting. A 100 W unit in a propagation area needs a different approach from a high-output bar fixture covering a full flowering tent.
Raise the fixture or reduce power whenever the upper canopy pales, curls or dries while the root zone and feed are otherwise in order. Do not make a dramatic correction unless symptoms are severe. A modest reduction in PPFD, combined with good air exchange and circulation, is often enough to stop further damage.
How to recover plants showing LED light stress
First, remove the immediate pressure. Raise the light, dim it, shorten the photoperiod slightly, or use a combination of these measures. Dimming is often preferable to raising the fixture too far because it maintains more even light distribution across the tent.
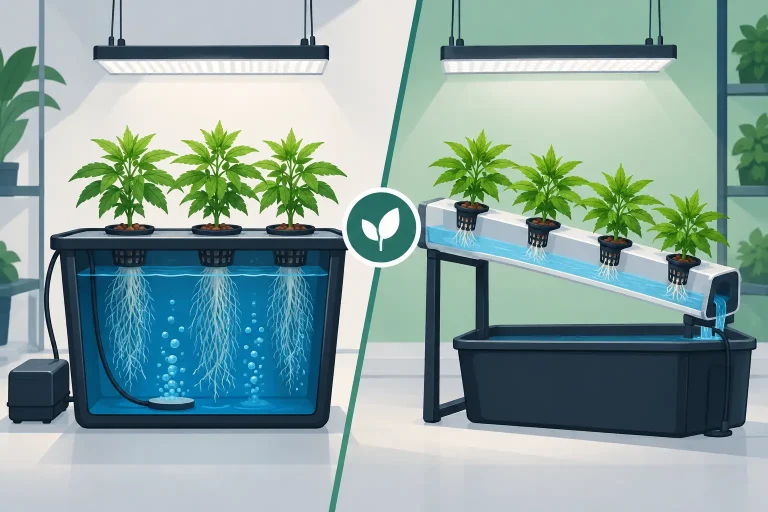
Next, stabilise the environment. Check extraction, fan placement, canopy temperature and humidity. Make sure irrigation is keeping pace with demand, especially in coco, rockwool and active hydroponic systems where plants can dry back rapidly under strong LEDs. Avoid overwatering in an attempt to compensate for leaf stress. Roots still require oxygen.
Do not expect damaged leaves to turn green again. The aim is to protect healthy tissue and judge recovery from the new growth. If fresh leaves emerge with normal colour and a relaxed posture, the adjustment is working. Remove only leaves that are badly dead or blocking airflow; slightly damaged leaves still contribute energy to recovery.
If bleaching is severe on flowers, reduce intensity promptly and inspect the entire canopy. The affected sites may not regain full colour, but preserving the remaining flowers is more valuable than continuing to chase the highest possible light level.
Preventing repeat problems as plants grow
The safest lighting routine is not set-and-forget. Plants can gain 10 cm or more in a short stretch, and that growth reduces the distance to the fixture each day. Check the highest tops after training, after a reservoir change and whenever you increase light output.
Keep the fixture clean, secure and level. Confirm that drivers, timers and dimmers are working as intended, and that no section of the canopy is being shaded before you compensate by turning the entire light up. Good reflective tent walls improve efficiency, but they also mean a small increase in output can have a noticeable effect.
For growers building or upgrading a room, pair high-output LED lighting with suitable extraction, oscillating fans, reliable environmental monitoring and irrigation capacity. The light is only one part of the system. A well-matched set-up lets plants use higher intensity without being pushed into stress.
Treat the canopy as the final measurement point. If the newest leaves stay evenly coloured, hold a natural angle and continue vigorous growth, your LED is working at a productive level – regardless of how high the dimmer dial can go.