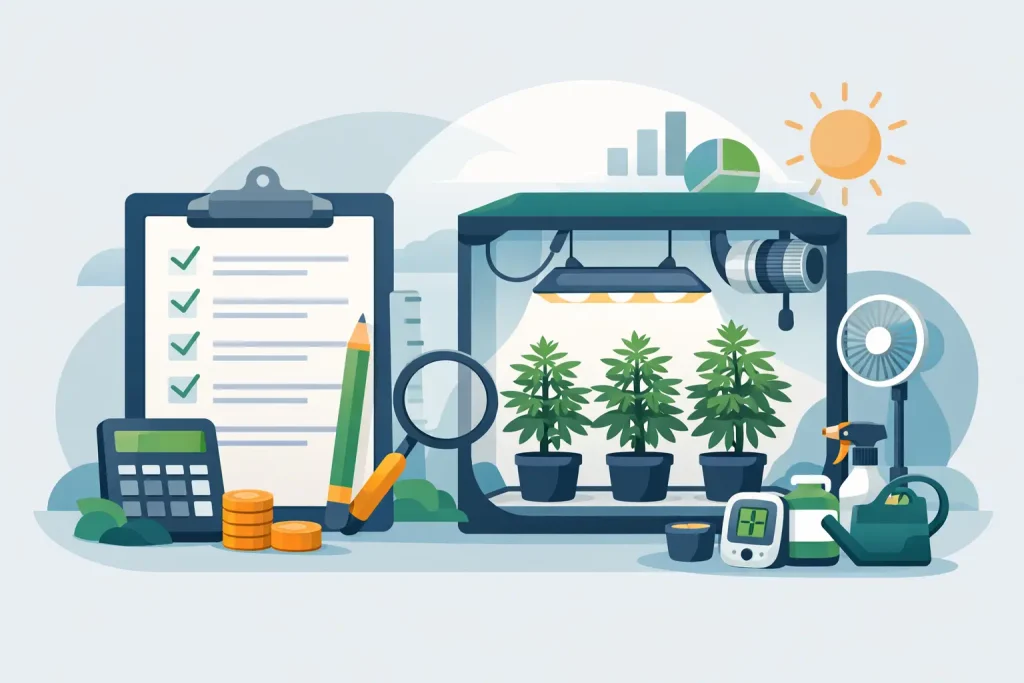
A cheap light, a weak extraction fan and an unmeasured feed tank can look like a saving on day one. A few weeks later, they often become the reason plants stall, the room runs hot and the same items need replacing. This budget grow room checklist is built around a better approach: spend only where it protects the environment, plant health and electrical safety, then keep the rest suitably simple.
A budget room does not need every controller, additive or high-spec system available. It does need a workable space, sufficient light, stable air exchange, reliable watering and a way to measure what is happening. Get those foundations right and upgrades can be made when the crop and your experience justify them.
Start with the crop, space and running costs
Before adding equipment to a basket, establish what you are growing, how many plants you intend to manage and how much usable floor area you have. A compact tent is usually easier and cheaper to control than a spare room. It also makes it easier to contain light, direct extraction and maintain a repeatable climate.
Measure the available height as well as the floor space. Allow for the pot or system, the plant canopy, a safe gap below the light and the light fixture itself. Many first rooms are overfilled because the grower has measured the tent footprint but not planned for the final height of the crop.
Running cost matters as much as the purchase price. Check the wattage of the grow light, extraction fan, circulation fan and any heater or dehumidifier you may need. A low-cost setup that requires a powerful heater throughout winter is not necessarily the economical option. In a cool UK property, insulation and room choice can reduce that ongoing expense considerably.
Budget grow room checklist: buy in the right order
Prioritise the parts that create and maintain the growing environment. Decorative extras, extra bottles and automation can wait. A practical first build should cover the following areas.
- A lightproof tent or suitably prepared grow space with a waterproof floor tray.
- An efficient grow light with an appropriate footprint for the area.
- Extraction, ducting and an intake route, plus at least one circulating fan.
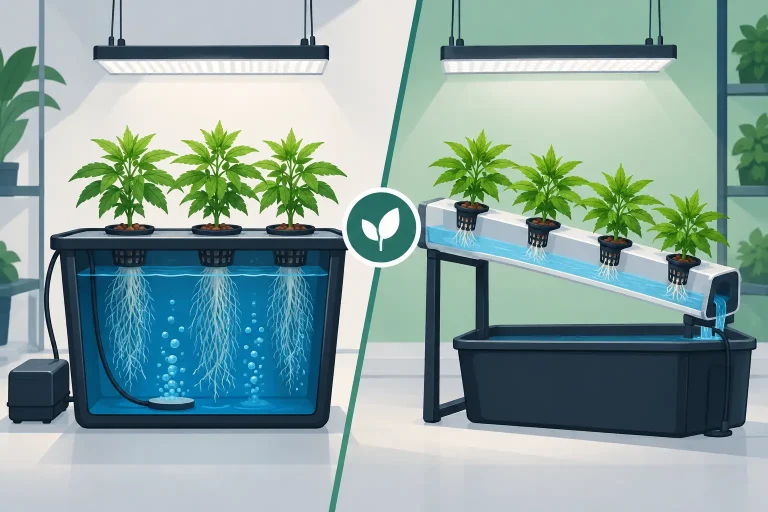
- Pots or a simple hydroponic system, growing media and a dependable watering method.
- A pH meter, EC meter where feeding mineral nutrients, and a combined temperature and humidity meter.
- Basic nutrients, pH adjustment products and cleaning supplies.
This order is deliberate. You can grow successfully with a straightforward nutrient range. It is far harder to recover from persistent high humidity, poor airflow or a light that cannot cover the canopy evenly.
Choose a sensible growing space
A grow tent is often the cleanest budget option because it supplies reflective walls, light control and duct ports in one purchase. Select a size that matches the light rather than buying a large tent and trying to illuminate it with an undersized fixture. An evenly lit smaller canopy generally performs better than a larger canopy with weak edges.
Inspect zips, stitching, poles and ports before installation. Light leaks are not always a crop disaster, but they are avoidable. More importantly, route ducting and cables before the tent is full of plants and equipment. Keep the floor dry and leave enough access to inspect the back of the tent, empty a run-off tray and service the fan.
If converting a cupboard or room, treat moisture management as part of the project. Protect surfaces, avoid blocking existing ventilation and never assume a domestic room can safely absorb continuous humidity without extraction.
Put the right share of the budget into lighting
Modern LED fixtures are usually the sensible starting point for a modest indoor room. They produce useful intensity with less heat than many older lighting formats, which can reduce the size of fan and cooling equipment required. The trade-off is that a quality LED can take a larger share of the upfront budget.
Do not buy by claimed wattage alone. Check the recommended coverage area, power draw, dimming range and hanging requirements. A dimmable fixture is particularly useful in a budget build because one light can support propagation, early growth and a fuller canopy without forcing plants to sit under excessive intensity from the start.
Hang the fixture securely with rated hangers and keep drivers, plug connections and extension leads away from spills. Never make the light the only climate plan. Even efficient LEDs add heat, and a closed tent will still need air movement and extraction.
Build ventilation before adding upgrades
Extraction removes heat and humid air, while a circulation fan keeps the canopy from becoming a still, damp pocket. Both are core equipment, not optional accessories. Size the extraction fan for the tent volume, then account for the resistance created by ducting bends and any carbon filter.
Keep duct runs short and direct where possible. A fan working through long, crushed or sharply bent ducting loses effectiveness and can become noisier. If odour control is required for your crop, buy a compatible filter and use appropriately sized ducting from the outset rather than trying to force mismatched components together.
Use a small oscillating or fixed circulation fan to move leaves gently. Constant direct wind can stress foliage, so point it across the canopy or at a tent wall rather than blasting one plant. In a small space, one extraction fan and one circulation fan will usually achieve more than several cheap clip-on fans placed without a plan.
Measure climate instead of guessing
A basic temperature and humidity meter pays for itself quickly. Place it around canopy level, not directly in the path of the light or fan. Check readings at lights-on and lights-off, as the room may behave very differently at each point in the cycle.
You do not need an expensive environmental controller for a first setup, but you do need a response plan. If humidity stays too high, improve extraction, reduce overcrowding, remove standing water and consider a dehumidifier outside the tent if the surrounding room is damp. If temperatures are too low, address the room temperature safely rather than relying on overloaded extension leads or unsuitable heaters inside a wet growing area.
Keep irrigation simple and repeatable
Hand watering pots with coco coir or another suitable medium is often the lowest-cost way to learn how plants respond to feed strength, watering frequency and drainage. It requires regular attention, but it keeps the equipment list short. Fabric pots and saucers can work well, provided run-off is collected and removed promptly.
For growers needing more automation, a basic timer-fed dripper system can be added later. Avoid building a complicated recirculating system purely because it looks more advanced. Recirculating systems can be highly productive, but they need close monitoring of water temperature, pH and EC. A simple run-to-waste arrangement is often more forgiving for a new indoor grower.
Use clean water containers with lids, especially where light could reach nutrient solution. Light encourages algae, while neglected reservoirs can create pH drift and blockages. Check emitters and pump operation before leaving any irrigation system unattended.
Do not cut the measurement and safety essentials
Nutrients are only as accurate as the measurements behind them. A calibrated pH meter is essential for hydroponic systems and useful for most soilless media. An EC meter helps prevent both underfeeding and costly overfeeding when using mineral nutrient programmes. Store probes correctly, use calibration solution and replace a poor meter rather than basing a crop on unreliable readings.
Electrical safety deserves the same attention. Keep sockets and multiway extensions outside the tent where possible, create drip loops in every cable and do not overload a single outlet. Use suitable RCD protection, keep connections raised off the floor and inspect cables, plugs and timers regularly. Water, condensation and rushed wiring are an expensive combination.
Buy a small amount of cleaning and maintenance kit at the start: disinfectant suitable for grow-room equipment, cloths, gloves, spare drippers or connectors, and a way to deal with spills. These are unglamorous purchases, but they prevent interruptions when a reservoir leaks or an irrigation line blocks.
Where to save without compromising the crop
Save money by avoiding oversized equipment, duplicate bottles and automation you cannot yet use. A single reliable nutrient range, a correctly sized light and properly matched extraction will usually beat a room full of cheap add-ons. You can also use manual timers, hand watering and basic environmental meters before moving to controllers, dosing pumps or remote monitoring.
Be cautious with used electrical equipment. A second-hand tent frame or clean reservoir may be a sensible purchase, but worn fans, damaged reflectors, old lamps and unknown timers introduce risk. If buying used, inspect it carefully, clean it thoroughly and do not compromise on mains safety.
The best first upgrade is normally the item identified by your records. If the canopy is healthy but temperatures climb, improve extraction. If watering is taking too long, add irrigation. If pH and EC drift are causing inconsistency, improve measurement and reservoir management. Let the room’s actual limitation set the next purchase, rather than buying equipment because it seems advanced.