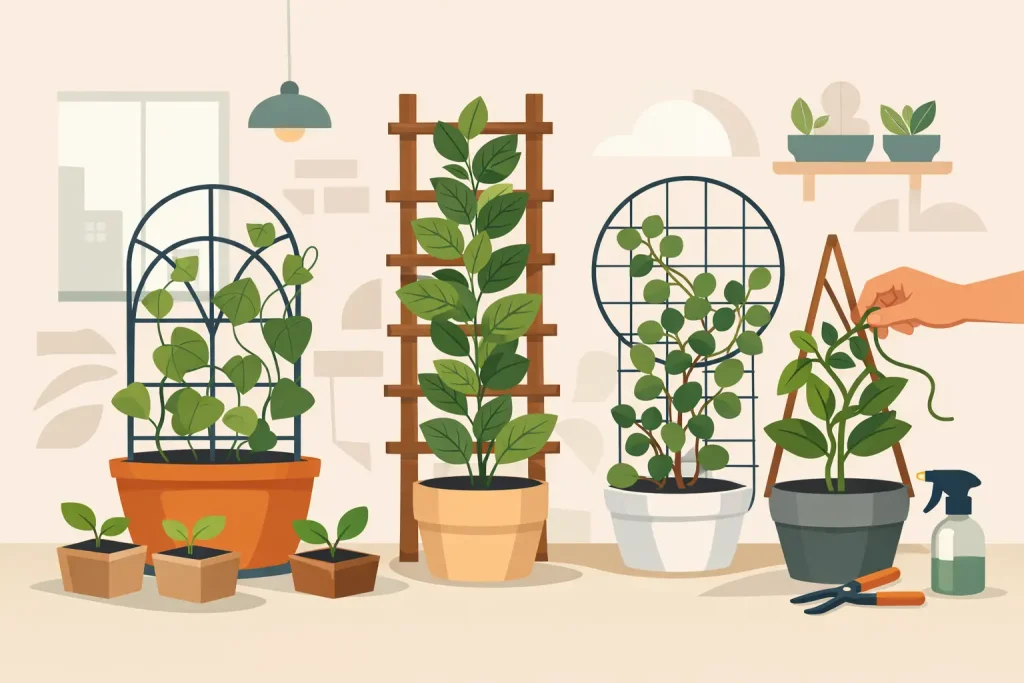
A plant can look healthy at the base and still become a problem once its top growth reaches the light. Stems lean, branches crowd, humidity settles inside the canopy and irrigation access becomes awkward. This guide to indoor plant trellis systems explains how to use netting, frames and support stakes to keep an indoor crop level, accessible and properly spaced.
For growers working in tents, rooms and hydroponic systems, a trellis is not decorative support. It is a canopy-management tool. The right setup helps distribute growth across the available footprint, prevents weak branches from folding under weight and creates more consistent exposure to the grow light.
What an Indoor Plant Trellis Actually Does
An indoor trellis supports plants in two ways. First, it physically carries stems and branches as plants gain height and weight. Second, it gives the grower a layout for directing growth into open spaces rather than allowing everything to pile up in the centre of the canopy.
That second job is often the more useful one. A flat, evenly filled canopy makes it easier to set an appropriate light height and maintain reasonably consistent intensity across the crop. It also makes defoliation, foliar inspection and pest checks more practical. In a crowded, unsupported canopy, leaves overlap, air movement drops and damp pockets can form around dense growth.
Trellising is especially useful for vigorous climbing plants, fruiting crops and cultivars with long internodes or heavy lateral growth. Compact plants may only need a few bamboo canes or soft ties. Large plants under high-output lighting usually benefit from a proper net-and-frame arrangement.
Choosing a Trellis Type for Your Grow Space
The best trellis depends on the crop, container layout, available headroom and how often you need access to the plants. Avoid choosing netting purely by price. A net that stretches too easily, sags under load or cannot be cleaned properly creates extra work later in the cycle.
Elastic trellis netting
Elastic netting is quick to fit around tent poles and works well for lighter training duties. It is useful when plants are still being positioned and you want some flexibility while moving shoots into place. However, elastic material can pull inwards as plants gain weight, reducing the size of the squares and tightening around stems.
Use it for early canopy shaping or light support, rather than expecting it to hold substantial weight late in flowering or fruit development. Check tension regularly, particularly after irrigation changes or when humidity rises.
Rigid plastic or nylon trellis netting
Rigid netting provides a more stable grid and is usually the better option for heavier crops. It can be secured to a timber frame, metal support frame or fixed tent-pole attachments. The squares remain more consistent, making it easier to maintain plant spacing and identify empty canopy areas.
The trade-off is access. Once a rigid net is full of trained branches, moving a pot or removing a single plant becomes difficult. Plan irrigation, drainage and reservoir access before installing it.
Plant yo-yos, stakes and individual supports
Not every crop needs a full screen. Plant yo-yos, soft plant ties, bamboo canes and coated support stakes are useful for securing individual branches without locking the whole canopy into one fixed grid. They suit plants that need occasional support but still require regular movement or rotation.
These options are also practical in systems where pots must be lifted for runoff checks, root inspection or cleaning. For example, a run-to-waste layout may be easier to manage with individual supports than with a fixed net across every pot.
Frames and modular support systems
A freestanding frame is the most controlled option for larger grow rooms and permanent cultivation areas. It allows a fixed screen height, repeatable plant spacing and better load-bearing capacity than netting tied directly to tent poles. Modular frames can also be arranged around tables, flood-and-drain trays or DWC systems without placing pressure on the grow tent structure.
This is usually the more expensive route, but it pays off where crop layout is repeated across cycles. Choose corrosion-resistant components and ensure the feet or brackets do not interfere with drainage lines, reservoirs or floor-level fans.
Sizing the Grid and Setting the Height
Grid size affects how easily you can train, inspect and support plants. Smaller squares provide more points of support and suit slender shoots, but they can make hands-on work awkward. Larger squares give better access, although branches may need additional ties when carrying weight.
For many indoor crops, a grid of roughly 10 to 15 cm is a practical starting point. Use the smaller end where you want close canopy control, and the larger end where branches are thicker or the crop needs more room for inspection. The aim is not to force every square full. Leave enough separation for air to move through the canopy.
Install the first trellis level with, or just above, the point where you want the main canopy to form. The correct height depends on plant size and stretch potential. A screen fitted too low can make feeding, pruning and medium checks difficult. A screen fitted too high allows stems to grow unsupported before they reach it.
If a crop is expected to gain significant height after training, use a second support layer above the first. The lower layer directs lateral growth; the upper layer prevents mature branches from leaning or snapping. Keep enough vertical clearance between layers to work beneath them without crushing foliage.
How to Install an Indoor Plant Trellis Properly
Start with the room layout, not the plants. Confirm where the extractor, oscillating fans, irrigation pipes, reservoirs and electrical leads sit. A trellis should improve workflow, not block a drain valve or make it impossible to remove a water tank.
In a tent, attach netting evenly to all four corners or use purpose-made pole clips. Do not pull the net so tight that it bends tent poles or places excess strain on zips and fabric seams. The grid should be firm enough to guide branches but not so tight that it cuts into stems as they thicken.
In a grow room, fix frames to stable supports rather than relying on lightweight shelving or loose pots. If the trellis is supported by individual containers, remember that a plant can pull the whole arrangement out of square as it grows. A shared frame is more stable where multiple plants are trained together.
Before training, water plants if the medium is dry. Flexible, hydrated stems are less likely to split when repositioned. Work slowly and direct shoots through adjacent openings rather than sharply bending them at one point. Use soft ties where a branch needs extra security, leaving room for the stem to expand.
Training Without Creating a Dense, Damp Canopy
The basic approach is simple: guide the most vigorous shoots towards empty squares and prevent multiple tops from competing in the same space. Check the canopy every few days during rapid growth. Small adjustments are easier than trying to reorganise woody branches later.
Do not fill every opening just because it is available. A completely packed net may look efficient, but it can restrict airflow and leave little room for maintenance. The appropriate density depends on your extraction rate, fan placement, temperature, relative humidity and the crop’s leaf structure.
Keep lower, heavily shaded growth under review. Weak material below a dense screen often receives little useful light and can become a humidity trap. Remove only what is necessary and avoid heavy pruning when plants are already stressed by heat, feeding changes, transplanting or pest pressure.
Air movement matters just as much as spacing. Position oscillating fans so they move leaves gently through and below the canopy, without blasting one area continuously. Trellis netting does not replace ventilation, extraction or humidity control. It simply makes those systems more effective by giving air paths through the crop.
Trellis Considerations for Hydroponic Systems
Hydroponic growers need to think beyond branch support. Once plants are fixed into a net, access to root zones and irrigation components is restricted. Check emitters, drippers, air lines and return pipes before the canopy becomes established.
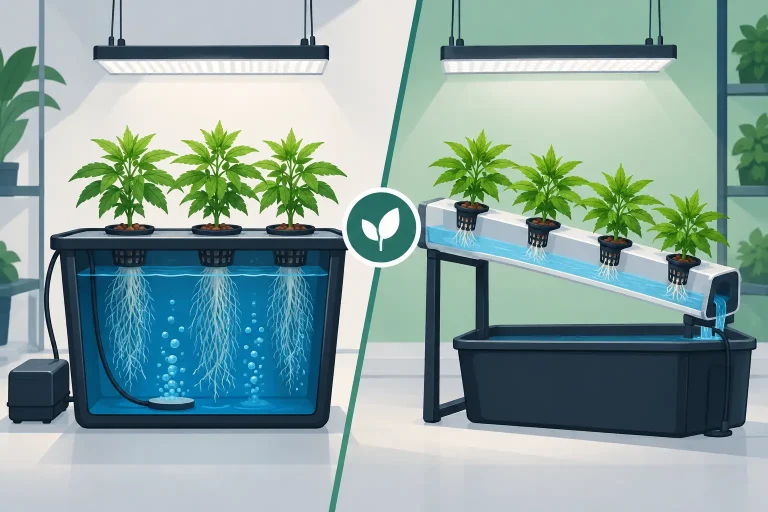
For DWC and recirculating systems, keep lids, airline connections and water-level access clear. A rigid trellis directly above individual bucket lids can turn a simple reservoir change into a major job. For drip-fed coco or rockwool setups, make sure you can inspect runoff, flush lines and replace blocked drippers without dismantling the screen.
It is also worth planning for cleaning. Reusable nylon netting and hard frames should be washed and disinfected between cycles. Disposable netting can save time where disease pressure has been an issue, but it creates more waste. Whichever route you choose, do not carry contaminated plant material or dirty supports into a fresh propagation area.
Common Trellis Mistakes to Avoid
The most common error is installing the net after the canopy has already become tangled. Fit support early enough that you can direct growth gradually. Another is treating the trellis as a solution for poor environmental control. If humidity, extraction or circulation are inadequate, a neat screen will not prevent mould or foliar disease.
Avoid using thin string, wire or abrasive ties directly against stems. They can rub, constrict and damage plant tissue as branches swell. Keep supports clean, secure and clear of hot grow lights. In a tent, maintain safe separation between plants, netting and lighting equipment as the canopy rises.
A well-planned trellis should make each routine task easier, from checking emitters to inspecting leaves and setting light height. Build it around your crop and your access requirements, then let the canopy develop into the spaces you have deliberately left open.