A pump that looks powerful on the box can still leave an NFT channel running shallow or take far too long to fill a flood tray. If you are working out how to choose hydroponic pump capacity, start with the system’s actual demand at its operating height, not the pump’s maximum litres-per-hour figure.
The right unit delivers stable flow, tolerates nutrient solution, suits your pipework and does not add unnecessary heat or noise to the grow room. Bigger is not automatically better. Excess flow can cause overflows, channeling in media, noisy returns and extra heat, while an undersized pump can starve emitters or make flood-and-drain cycles unreliable.
Start with your hydroponic system
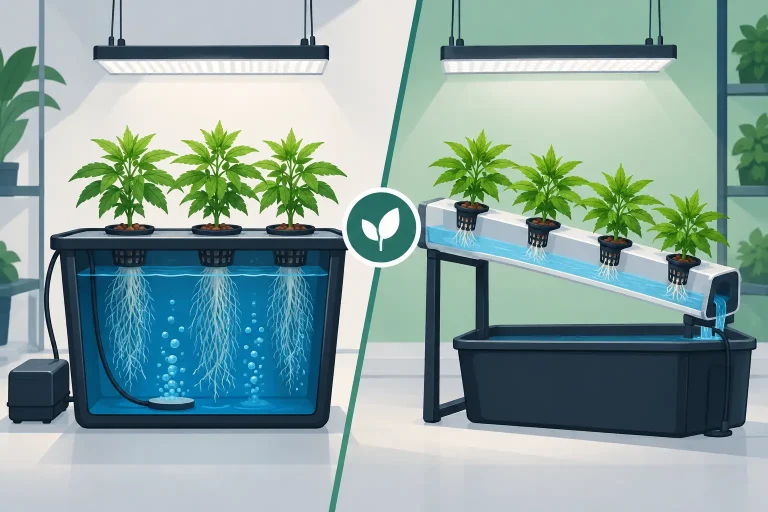
Pump choice changes with the method being used. A small nutrient-film technique system needs a consistent, gentle feed, while a flood-and-drain tray needs enough volume to fill within the timer window. Deep-water culture may only need a circulation pump if you are running a recirculating setup, as oxygenation is normally handled by an air pump and air stones.
For common systems, the priorities are different:
- NFT needs a continuous, even flow to the highest channel. Flow is usually controlled with a valve or manifold, not by running a pump that barely meets the requirement.
- Flood-and-drain needs adequate fill speed and reliable repeated switching. Calculate the reservoir-to-tray lift and the volume of the tray at working depth.
- Drip irrigation and run-to-waste need enough pressure and flow for every dripper. Long lines, small-bore pipe and pressure-compensating drippers all affect the specification.
- Aeroponics requires more than a standard water pump in many setups. Fine mist nozzles need pressure, filtration and often purpose-built components to avoid poor atomisation and blocked jets.
Always identify whether you need a water pump, an air pump, or both. They do different jobs. A circulation pump moves nutrient solution; an air pump supplies dissolved oxygen through air stones. Substituting one for the other causes avoidable problems.
How to choose hydroponic pump flow rate
Manufacturers usually state a maximum flow in litres per hour, often shown as L/h. This number is measured with no lift, no restrictive fittings and no pipework. It is useful for comparison, but it is not the flow you will get in a working grow system.
Begin by estimating how much solution your system needs to move. For an NFT setup, you may only require a modest flow per channel, but a pump feeding several channels through a manifold must supply the combined demand. For drip systems, multiply the flow rate of each dripper by the number of drippers, then allow extra capacity for line losses and adjustment.
Flood-and-drain is easier to size by volume. If your tray holds 80 litres at its intended flood depth and you want it filled in 10 minutes, the theoretical requirement is 480 L/h. That is before allowing for vertical lift, bends and restrictions. In practice, select a pump that provides considerably more than this at the required head height, then use a tap or bypass to tune the fill rate.
A sensible working margin is useful because roots, biofilm and filters gradually add restriction. However, avoid buying an excessively large pump simply to create a margin. A very high-flow unit may require larger pipework, consume more electricity and warm the nutrient tank. Match the pump to the application, then give yourself controlled adjustment.
Use the pump curve, not just the headline figure
Every worthwhile pump should have a performance curve or a table showing flow at different head heights. Head height is the vertical distance from the surface of the reservoir to the highest point the pump has to feed. Measure this vertically, rather than following the length of the hose.
For example, a pump rated at 2,000 L/h may deliver close to that only at zero head. At a 1.5 metre lift, its actual output could be much lower. Add a fine filter, narrow pipe, several elbows and a manifold, and it will reduce further. Select the pump based on the flow shown at your real operating head.
Maximum head is also significant. If the pump’s maximum head is 2 metres and your outlet sits at 1.8 metres, it may technically move water but have little usable flow or adjustment left. Choose a unit with enough headroom to run comfortably below its limit.
Account for pipework, fittings and filtration
The pump outlet size should suit the main feed line. Running a large pump into narrow tubing creates restriction, reduces output and increases strain on the pump. Where practical, use the manufacturer’s recommended outlet diameter for the main run, then step down at manifolds or individual feeds.
Every elbow, T-piece, valve, reducer and long hose run adds resistance. This matters most in drip and aeroponic systems, where small differences in pressure can make feeds uneven. Keep pipework direct, avoid unnecessary sharp bends and use a manifold with individual valves when supplying multiple lines. It makes balancing channels or drippers far easier during setup.
Filtration is not optional where small drippers or nozzles are involved. Nutrient salts, root debris and particles from reservoirs can block outlets quickly. Fit an appropriate filter before sensitive irrigation components, clean it routinely and remember that a dirty filter changes the pump’s working flow. A filter protects the system, but it must be included in the sizing decision.
Choose between submersible and external pumps
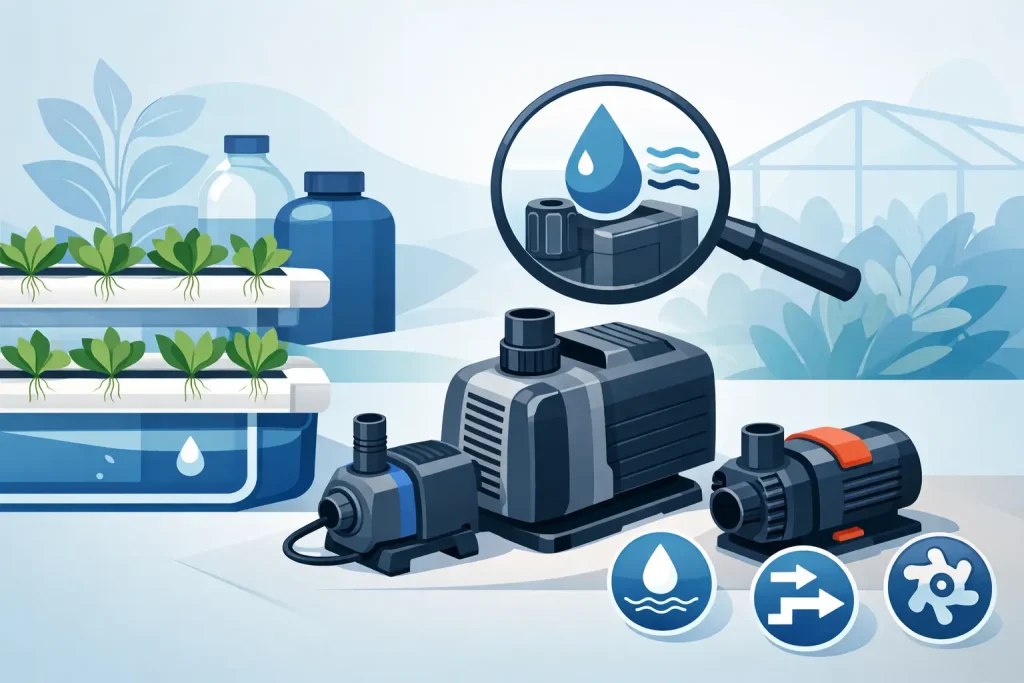
Most hobby and small grow-room systems use submersible pumps. They sit inside the reservoir, are straightforward to install and are generally quiet because the water dampens vibration. They are well suited to NFT, small flood-and-drain systems, recirculating systems and reservoir mixing.
Their main drawback is heat transfer. Any electrical pump produces heat, and a submersible model releases much of it into the nutrient solution. In a cool UK grow space this may be minor, but in a warm tent or during summer it can push reservoir temperatures higher than intended. This is more relevant with larger pumps, small reservoirs and systems where solution temperature is already difficult to control.
External or inline pumps keep motor heat outside the tank and can offer stronger pressure for larger installations. They need more careful plumbing, secure connections and consideration for noise and leaks. For a multi-tray system, long irrigation runs or higher-pressure application, the extra installation work can be justified. For a single small system, a quality submersible pump is normally the simpler option.
Check materials, maintenance and reliability
Nutrient solution is not plain water. Select a pump intended for water and hydroponic use, with corrosion-resistant components and a housing that can be cleaned without difficulty. Avoid allowing sediment to build around the intake. A pump sitting directly on the reservoir floor is more likely to draw in debris, so raise it slightly using a pump stand or a clean, stable support.
Look for a removable front cover and accessible impeller. The impeller is the part most likely to collect roots, mineral deposits or organic residue. A quick clean between reservoir changes prevents gradual losses in flow that are often mistaken for nutrient or irrigation problems.
If the pump will run continuously, check that it is rated for continuous duty. If it is timer-operated for flood-and-drain, check that it works properly with your timer and can tolerate frequent starts. A cheap timer that cannot handle the pump’s load is just as capable of stopping irrigation as a failed pump.
Noise can matter in a domestic setting. Submersible pumps are usually quiet, but vibration can transfer through a reservoir or hard pipe. Place the pump on a soft, water-safe pad where appropriate, secure pipework and make sure the reservoir lid is seated properly. Do not restrict the intake just to reduce noise.
Build in control and a backup plan
A pump with slightly more output than required is useful only if you can control it. Fit a valve on the delivery side, not the intake side, or use a bypass returning excess solution to the reservoir. Restricting an intake can cause cavitation, noise and premature wear.
For systems where a missed irrigation cycle could quickly damage plants, keep a compatible spare pump on hand. This is particularly sensible for fully planted NFT channels, recirculating drip systems and commercial-scale installations. Test spare equipment before it becomes urgent, and keep spare hose connectors, clamps and a clean filter available with it.
Before planting, run the complete system with plain water for several hours. Check the flow at every channel, dripper or outlet, inspect joints for leaks and confirm the reservoir level remains safe through the full cycle. That short test is the best time to correct a poor pump choice, rather than after roots have reached the lines and the crop depends on them.