Coco is not soil, and that changes how to flush coco plants. A coco root zone should remain evenly moist, oxygenated and supplied with a balanced nutrient solution. Simply soaking a pot with plain water can remove excess salts, but it can also leave plants short of calcium, magnesium and essential feed if it is done too aggressively or for too long.
The practical aim is to correct the root zone, not to drown it. Use runoff readings, plant condition and your normal feeding schedule to decide whether a flush is needed, then bring the crop back onto a stable nutrient programme promptly.
What flushing coco actually does
Coco holds both water and nutrient ions. With regular fertigation, particularly in smaller pots or warm rooms with high transpiration, unused mineral salts can concentrate around the roots. This raises the electrical conductivity (EC) in the media and makes it harder for the plant to take up water and nutrients. Leaves may show burnt tips, clawing, dark foliage, stalled growth or deficiencies that appear despite regular feeding.
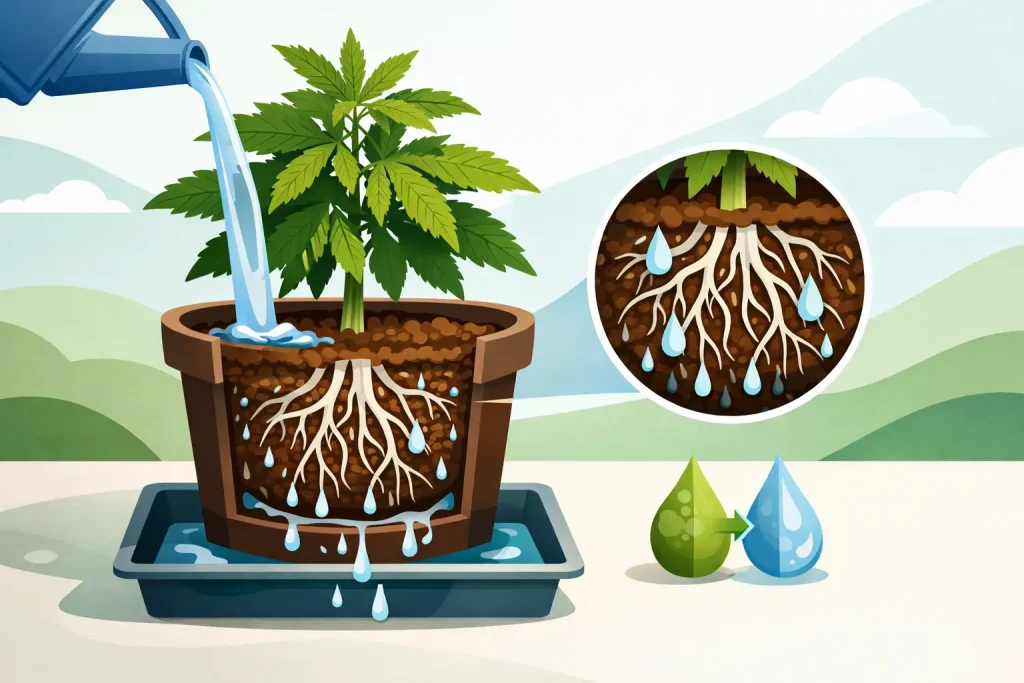
A flush moves this concentrated solution out of the pot by applying fresh, correctly pH-adjusted solution until the runoff becomes more representative of what is going in. It is a reset for a high-EC root zone, not a routine replacement for good irrigation management.
Coco growers should not treat flushing as a fixed calendar task. If input and runoff EC are close, plants are healthy and the pots are drying back at the expected rate, there is usually no reason to intervene. Unnecessary flushing can create its own problems, especially when using very soft water or reverse-osmosis water with no calcium and magnesium present.
When to flush coco plants
The strongest reason to flush is a meaningful gap between your input EC and runoff EC. A modest runoff increase is normal because coco retains nutrients. A steadily climbing runoff EC, however, indicates that salts are accumulating faster than they are being removed.
Check runoff after the pot has been irrigated normally, rather than collecting the first few drops. Compare the reading with your feed solution and look for a trend over several irrigations. One odd reading can be caused by an unevenly wet pot, a recently changed feed strength or poor sample collection. Repeated high readings are more useful than a single number.
Flushing can also be appropriate when plants show clear overfeeding symptoms, after an irrigation failure that has allowed pots to dry too far back, or when switching from an unsuitable nutrient mix. In coco, use nutrients designed for coco or hydroponic media where possible. These normally account for coco’s tendency to bind calcium and magnesium.
Do not assume every leaf issue is salt build-up. Root-zone temperature, poor drainage, low oxygen, pests, excessively high light levels and incorrect pH can all mimic nutrient problems. Correcting an EC issue will not fix a blocked dripper or a cold, saturated pot.
Flushing before harvest is a separate decision
Some growers use plain water at the end of a crop, while others maintain a light, balanced feed until the final irrigation. There is no universal programme that suits every cultivar, nutrient range or harvest schedule. If you choose a finishing period, reduce EC gradually and keep pH, irrigation frequency and runoff under control. Avoid turning a healthy, productive root zone into a deficient one during the final days.
Equipment to prepare
You need a reliable EC meter and pH meter, clean mixing vessels and enough solution to achieve proper runoff. Calibrate meters regularly and rinse probes between samples. An inaccurate EC meter makes flushing guesswork.
For hand-watered plants, use a watering can or pump-fed lance that distributes solution evenly across the surface. In a drip system, inspect emitters before blaming the feed. Uneven flow creates dry pockets and localised salt build-up, particularly in larger fabric pots and slab systems.
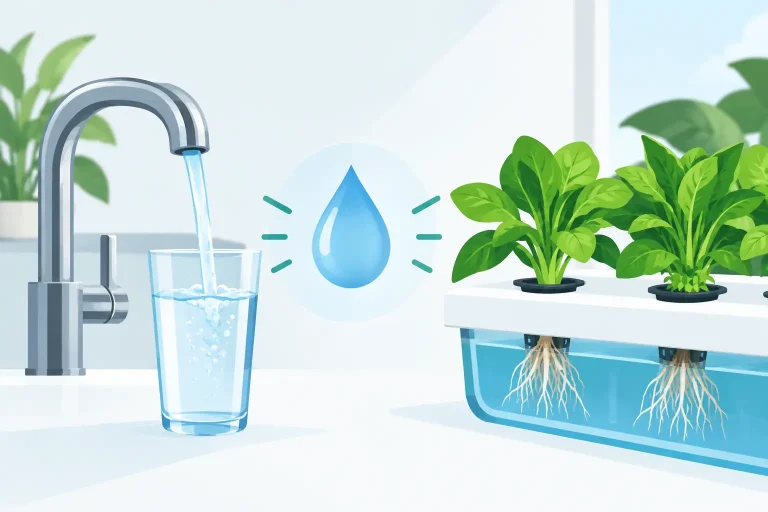
Use clean water with a known starting EC. Hard UK tap water can already contain a noticeable EC, so record it before adding nutrients. If using reverse-osmosis water, add an appropriate calcium-magnesium supplement or a low-strength base nutrient before applying large volumes through coco.
How to flush coco plants step by step
Start by mixing a low-EC nutrient solution rather than automatically using zero-EC water. For most corrective flushes, a light feed that includes calcium and magnesium is safer for the roots than plain water. Adjust the solution to a pH of roughly 5.7 to 6.0, which keeps common hydroponic nutrients available in coco.
Apply the solution slowly and evenly. For a mild EC rise, one pot volume may be enough to produce useful runoff. For a serious build-up, plan for two to three times the container volume, delivered in stages so the entire root ball is wetted. A 10-litre pot does not always hold 10 litres of media, so treat this as a working guide rather than an exact formula.
Collect runoff near the end of the process and measure its EC and pH. Continue until runoff EC is moving down towards a sensible level relative to your input. Chasing an identical input and runoff reading is not always necessary, and it can waste water and nutrients. The objective is a stable root zone that the plant can feed from again.
Once the runoff is back under control, return to a normal but sensible feed strength. If the plants were badly overfed, start slightly below the previous EC for the next irrigation or two, then increase only when runoff and new growth look right. Do not respond to suspected salt stress by withholding all nutrition for several days.
For drip-fed coco, run enough irrigation events after the correction to maintain a small, consistent runoff fraction. The exact percentage depends on pot size, stage of growth, climate and feeding frequency, but regular runoff is what prevents salts from rebuilding. In warm, high-demand conditions, several smaller feeds are generally easier to manage than one large daily drench.
Reading runoff without overreacting
Runoff EC is a management tool, not a target on its own. A high runoff reading with vigorous growth and a recently increased feed may simply require closer monitoring. A high reading alongside burnt leaf margins, slow uptake and heavy pots points more strongly to a root-zone problem.
Runoff pH also matters. Coco can drift over time, particularly where water alkalinity is high. If pH is consistently outside the productive range, correct the incoming solution and verify that your nutrient products are being mixed in the right order. Add base nutrients to water first, then additives, and pH last.
Keep a simple record of input EC, input pH, runoff EC, runoff pH and irrigation volume. This turns flushing from a reaction into a controlled correction. It also helps identify whether the real issue is feed strength, poor drainage, inconsistent dripper output or an environment that is forcing plants to drink unevenly.
Common coco flushing mistakes
The most common mistake is treating coco like compost and allowing it to dry out after a flush. As coco dries, EC in the remaining solution rises sharply. Maintain appropriate moisture levels and resume a regular irrigation schedule once the correction is complete.
Another is flushing repeatedly with plain water. Coco has limited nutritional reserve, and calcium and magnesium deficiencies can develop quickly when a plant is actively growing. A low-strength, coco-suitable nutrient solution is normally the more controlled option.
Finally, do not use flushing to compensate for an unsuitable system. Pots need adequate drainage, trays must empty freely, and irrigation lines need even pressure and clean emitters. The best flush is the one you rarely need because feed strength, runoff and irrigation timing are already being managed properly.
A clean, well-monitored coco root zone gives you more control over every other decision in the grow room. Check the numbers, make one measured correction, then let consistent fertigation do the rest.