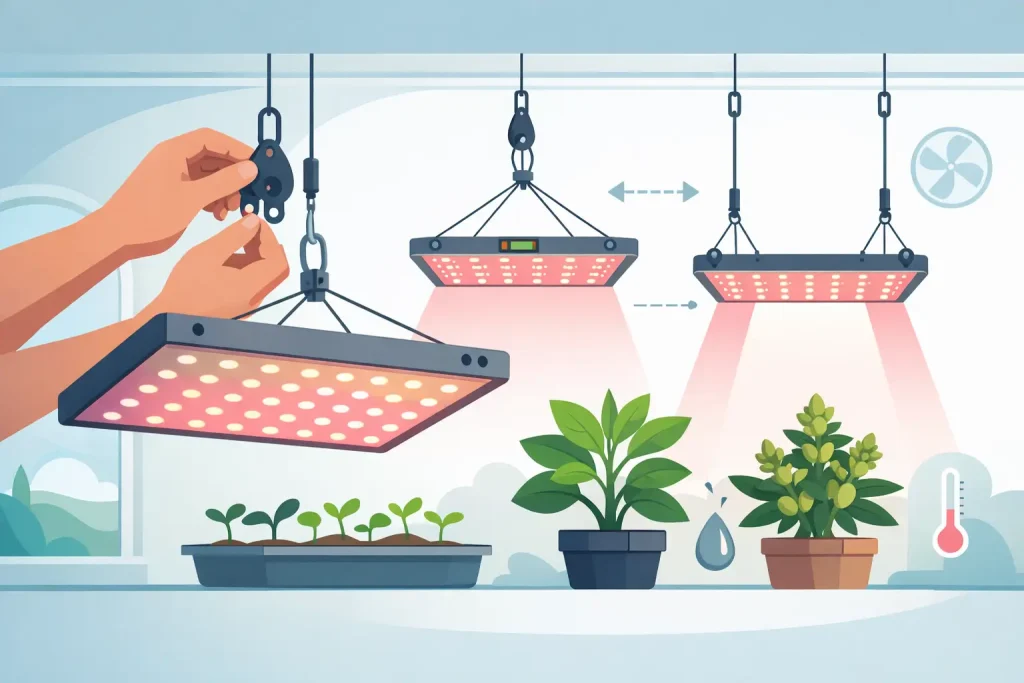
A lot of lighting problems are not actually lighting problems. They are hanging problems. If you are working out how to hang LED grow lights, the difference between a flat, productive canopy and stressed plants often comes down to a few centimetres, a level fixture, and a secure mounting point.
LEDs give you efficiency, lower radiant heat, and strong output for the wattage, but they are less forgiving when the fixture is too close to the canopy or badly positioned in the tent. Hotspots, weak edge coverage, stretched growth and wasted floor space usually start with poor placement. Getting the hanging setup right from day one saves constant adjustment later.
How to hang LED grow lights in a grow tent
Start with the fixture itself. A compact LED board, a full bar fixture, and a high-output commercial unit all hang differently because the weight distribution and footprint are different. Before anything goes over plants, check the fixture weight, recommended hanging method, and the maximum load your tent cross bars or room fixings can take.
In most grow tents, the safest option is to suspend the light from the roof bars using ratchet hangers or heavy-duty rope ratchets rated above the fixture weight. This gives you easy vertical adjustment as plants develop. Clip each hanger directly into the fixture’s mounting points or frame, then attach to the tent bars so the load is spread evenly. If the light has four attachment points, use all four. Cutting corners here is a good way to end up with a tilted fitting and uneven coverage.
Once the light is hanging, stand back and check it is level from side to side and front to back. Even a slight angle can shift intensity towards one section of the canopy. In a square or rectangular tent, centre the fixture over the plant area rather than over the tent floor if those are not the same thing. Many growers lose usable light by centring the unit visually instead of aligning it with the actual canopy footprint.
For heavier fittings in a dedicated room, mounting to ceiling anchors, unistrut, or another fixed support can make more sense than using adjustable tent hardware. The principle is the same – secure load-bearing points, balanced suspension, and enough adjustment range to raise the unit as the crop matures.
Choose the right hanging height first, then fine-tune
The first number growers look for is hanging height, but there is no single correct distance for every LED. Output, lens design, diode layout, driver efficiency and canopy size all affect the result. A 100W board in a small propagation area is a different job from a high-intensity bar light in flower.
The best starting point is always the manufacturer’s PPFD map and height guidance. If that is available, use it. It will usually give a recommended distance for seedlings, veg and flower. That is more useful than copying somebody else’s setup online, because two fixtures with the same wattage can perform very differently.
If you do not have a detailed chart, start conservatively. Seedlings and fresh cuttings generally want the light higher up or dimmed back to avoid stress. In vegetative growth, you can bring the fixture closer as plants harden off and demand more intensity. In flower, the light often comes down further still, but only if canopy temperature, leaf response and coverage stay under control.
What matters is not just the distance from the top leaf to the light. You are trying to deliver even intensity across the canopy, not blast the centre while starving the corners. Bar LEDs are usually easier to run closer because they spread output more evenly. Older-style board fixtures or units with tighter optics may need more headroom to avoid hotspots.
Hanging distance depends on growth stage
Seedlings are where people often overdo it. LEDs run cooler than HID in terms of radiant heat, so growers assume they can place them very close. That can still bleach tender growth or slow root development if intensity is too high too early. If seedlings look squat but stalled, or leaves are praying hard with pale tops, back the light off or dim it.
In vegetative growth, aim for compact structure without forcing stress. If internodes are stretching, the fixture may be too high or too weak for the area. If upper leaves are tacoing, paling or curling upwards, the light may be too intense even if the room temperature looks acceptable.
Flowering is where hanging height really affects yield. Too high, and lower bud sites never catch up. Too low, and top flowers can bleach or foxtail while the rest of the canopy underperforms. This is why an even canopy matters as much as the fixture itself. A light hung at the ideal distance from one tall plant may be wrong for everything else around it.
Use dimming and height together, not as separate decisions
Modern LED fixtures often include a dimmer, and that changes how you should hang them. Instead of setting one fixed height and leaving it there, use height and output together to control intensity.
For example, in early veg it often makes more sense to keep the fixture at a practical working height and dim it down, rather than hanging it excessively high and losing coverage at the edges. Later in flower, raising power while maintaining an even, safe distance can improve consistency across the canopy.
This also helps when tent height is limited. In many UK grow tents, vertical space disappears quickly once you account for pot height, saucers, plant stretch, extraction equipment and the light fixture itself. If headroom is tight, a dimmable bar LED gives you more options than a fixed-output unit that has to sit too close to the crop.
Get the spacing right across the whole canopy
One fixture over one canopy sounds simple, but spacing still matters. If the light footprint is smaller than the planted area, edge plants will always lag. If it is too powerful for the space, you end up constantly dimming it or running it higher than ideal.
The cleanest setup matches the fixture footprint to the grow area. In a tent, the light should cover the active canopy with a little overlap, not just the centre square. In larger rooms using multiple fixtures, keep spacing consistent between lights so canopies receive even overlap rather than bright strips and dull gaps.
This becomes more important with several smaller LEDs instead of one larger unit. Multiple fixtures can improve uniformity, but only if they are hung at matching heights and arranged around the actual plant layout. If one fixture sits lower than the others, that section of canopy will tell you quickly.
Safety matters more than convenience
Grow room hardware gets moved, adjusted and knocked. That is why the hanging method matters. Use hangers, hooks and carabiners rated for the load. Avoid cheap clips, worn rope ratchets, or improvised fixings that were never meant for overhead equipment.
Keep the driver and mains leads tidy and away from standing water, irrigation lines and high-humidity drip points. If the driver is removable, mounting it outside the tent can reduce heat load and free up a little more height. It also makes servicing easier.
After installation, test the setup before the crop is in full swing. Raise and lower the fixture through its working range. Check for slipping ratchets, flexing bars, cable tension and awkward contact with extraction ducting or oscillating fans. A secure install should stay level and move smoothly when adjusted.
Common mistakes when hanging LED grow lights
The most common mistake is hanging by eye and calling it done. A fixture can look centred and still deliver poor coverage if the canopy is offset or if plant heights are uneven. Measure from the canopy, not just from the tray or tent floor.
The second mistake is reacting too quickly to one symptom. Stretch does not always mean the light is too high. Bleaching does not always mean heat. Nutrient balance, VPD, root health and cultivar behaviour all play a part. Light position should be adjusted with the rest of the environment in mind.
The third is forgetting future growth. A light that is perfectly placed on day one may be far too close two weeks later, especially in aggressive vegetative growth or after the flowering stretch starts. Leave yourself enough travel in the hangers to keep pace.
If you are running a mixed canopy with different cultivars or plant sizes, there is no perfect single height. In that case, either raise shorter plants to level the canopy or accept a compromise and reduce intensity slightly. A uniform canopy almost always makes better use of LED output than chasing ideal distance for the tallest tops.
A proper hanging setup is not complicated, but it does need to be deliberate. Match the fixture to the space, mount it securely, keep it level, and adjust height and dimming around the crop stage rather than guesswork. Once the light is working with the canopy instead of against it, the rest of the room becomes much easier to manage.