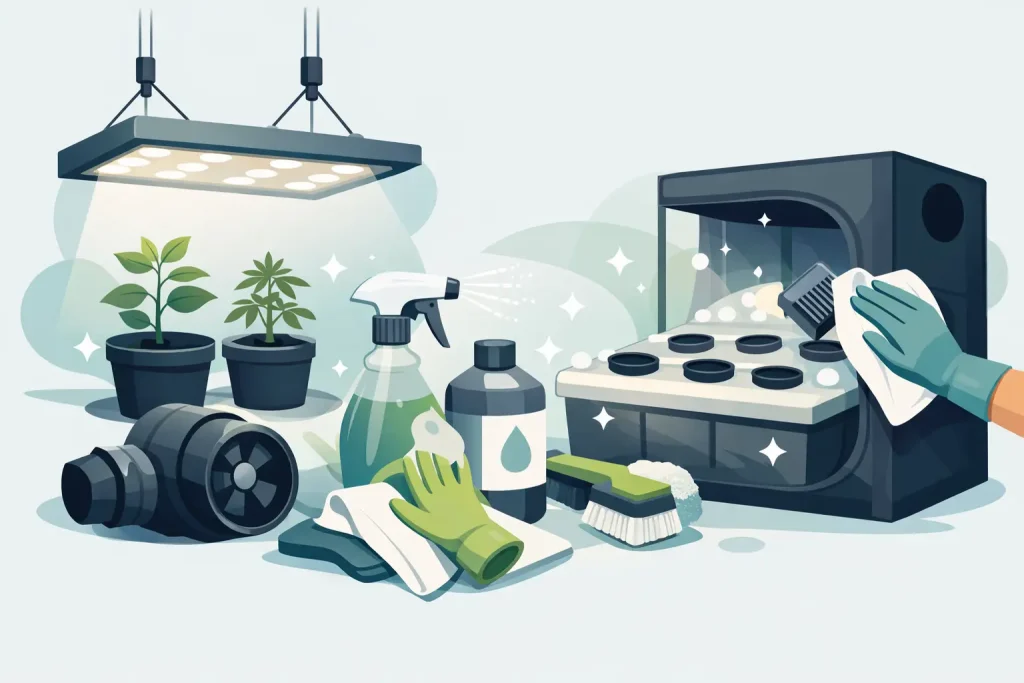
A clean tent can still carry the last crop into the next one. Biofilm inside irrigation pipework, dried residue beneath tray inserts and spores caught in fan guards are easy to miss, yet each can undermine a fresh start. Knowing how to sterilise grow equipment properly means treating the whole system, not simply wiping down the visible surfaces.
For most indoor growers, the practical aim is disinfection rather than laboratory-grade sterilisation. True sterilisation removes all viable microorganisms and generally requires specialist heat or chemical processes. In a grow room, the job is to remove organic matter, break down biofilm and reduce pathogens, algae and pest pressure to a level that gives new plants a clean environment.
Clean first, then disinfect
Disinfectant works poorly through mineral scale, nutrient salts, root debris and greasy deposits. Empty the system completely, remove all old growing media and plant material, and physically clean every accessible part before applying your chosen sanitiser.
Start with a dry clean. Vacuum tent floors, corners, intake areas and cable runs rather than sweeping debris into the air. Take apart reservoirs, lid ports, filters, drippers, net pots, tray inserts and removable pipework. A brush reserved for grow-room cleaning is useful for grooves, threaded fittings and the inside of pots.
Then wash surfaces with warm water and a suitable detergent. This is where most of the actual work happens. Scrub away nutrient crust and slime, rinse thoroughly, and inspect again. If you can still feel residue with a gloved finger, it needs another pass before disinfecting.
Do not mix cleaning products. In particular, never combine bleach with acids, ammonia-based cleaners or other disinfectants. The resulting fumes can be dangerous, and mixing products does not make them more effective.
Choose the right sanitiser for the equipment
The best product depends on what you are cleaning, the material involved and whether you can rinse it properly afterwards. Always follow the label dilution, contact time and PPE instructions. Stronger is not automatically better: excessive concentration can damage plastics, seals, coatings and metal components.
Hydrogen peroxide for hydro systems
Hydrogen peroxide-based products are widely used on reservoirs, pumps, irrigation lines, trays and hard surfaces. They are effective against organic contamination and leave little persistent residue when used correctly. They are especially useful for flushing recirculating systems, where internal pipework is otherwise difficult to reach.
Use a horticultural or equipment-cleaning product at its stated dilution. Fill or circulate the solution through the system so it reaches pumps, pipework, manifolds and drippers, then allow the full contact time. Drain and rinse as directed before refilling with fresh water. Check pump and irrigation manufacturer guidance where available, particularly for seals and delicate components.
Peroxide loses strength over time, especially once opened or exposed to light and heat. Store it correctly and do not rely on an old, partly used bottle for a full turnaround clean.
Diluted bleach for hard, non-porous surfaces
Unscented household bleach can be effective on hard plastic trays, reservoir exteriors, floors and certain tools, provided it is correctly diluted and rinsed. It is inexpensive, but it is not the most forgiving option. Chlorine can corrode metal, degrade some rubbers and plastics, and leave residues that are unacceptable in a nutrient solution.
Avoid using bleach in systems you cannot fully rinse, on electrical equipment, on aluminium and on any surface where the manufacturer advises against it. Never use fragranced bleach or products with added detergents. If you use it for removable components, rinse repeatedly with clean water and allow them to dry fully before reassembly.
Peracetic acid and commercial grow-room sanitisers
Commercial sanitisers based on peracetic acid or other professional formulations can suit frequent crop turnover and larger systems. They are often highly effective at low dilution, but they demand careful handling and accurate measuring. Use them only where the label confirms compatibility with your reservoir, irrigation hardware and working environment.
For routine tent surfaces, benches and propagation areas, a ready-to-use disinfectant designed for horticulture can be the most efficient option. It reduces dilution errors and is often more practical than using a strong concentrate in a small indoor space.
How to sterilise grow equipment by system type
Different equipment holds contamination in different places. Treating every item the same usually leaves the problem areas untouched.
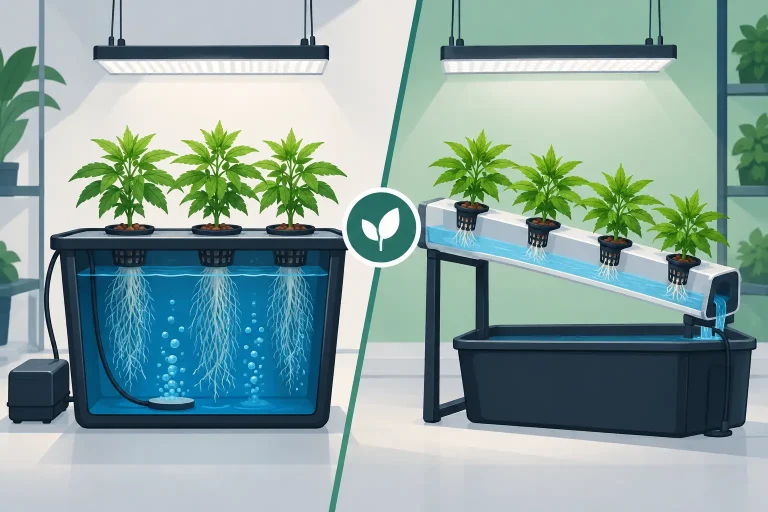
Reservoirs, pumps and irrigation lines
Reservoirs should be emptied as soon as the crop finishes. Remove the pump, air stones, level indicators, heaters and filters. Scrub the reservoir walls, base, lid, outlet fittings and the underside of the lid, where condensation can collect.
For recirculating systems, reconnect the equipment after the initial wash and circulate the sanitising solution through the complete loop. Open line ends where possible to confirm flow. Drippers and narrow-bore pipe can retain biofilm even when the reservoir looks spotless, so allow adequate contact time and replace blocked or brittle lines rather than trying to rescue them.
Air stones are difficult to clean completely once nutrient salts and roots are embedded in their pores. They are inexpensive consumables. Replace them between cycles if they are discoloured, clogged or have been used in a system affected by root disease.
Flood-and-drain trays, pots and propagation equipment
Flood tables, run-to-waste trays and saucers need attention underneath as well as on top. Lift inserts, stands and tray supports to clean the areas where runoff and algae settle. Inspect drain fittings and grommets for trapped roots.
Hard plastic pots, net pots and propagation trays can be washed and disinfected if they remain structurally sound. Cracked trays and scratched, heavily stained pots are harder to sanitise reliably, because debris sits inside the damaged surface. Replacement is often the more efficient choice when preparing for a high-value run.
For propagators, clean the lid, vents, base, cable entry points and any heat mat surface. Do not immerse electrical propagators or heat mats. Wipe them with a compatible product on a cloth, keeping liquid away from plugs, controls and joins.
Tools, scissors and handling equipment
Scissors, secateurs, scalpels, labels, measuring jugs and pH probes move contamination quickly from one plant or reservoir to another. Wash visible sap and residue off tools first, then disinfect them between plants when dealing with disease symptoms or carrying out propagation work.
Metal blades should be dried after cleaning to limit corrosion. Store clean tools away from the tent floor and do not put disinfected scissors back into a dirty tray. A dedicated clean container for propagation and pruning equipment helps maintain the separation.
Do not soak electrical and climate-control equipment
Fans, extraction units, carbon filters, dehumidifiers, heaters, light fittings and controllers need a different approach. Isolate power before cleaning. Remove loose dust with a vacuum, soft brush or dry cloth, then wipe external housings with a lightly dampened cloth and suitable cleaner.
Fan guards and removable blades can usually be cleaned more thoroughly, but water must not enter the motor. Carbon filters should not be washed. Vacuum or wipe the outer pre-filter sleeve if applicable, and replace it when it is clogged or cannot be cleaned effectively. If a filter has been exposed to persistent damp, mould or heavy contamination, replacement is safer than attempting to sanitise the carbon bed.
Clean light fittings only when cool and disconnected. Avoid spraying any product directly around drivers, diodes, plugs or ventilation slots. Dust reduces output and can hold moisture, but a careful dry clean is normally all that is required.
Let surfaces dry and reset the room
After the final rinse, allow equipment and the grow space to dry completely. Drying is part of sanitation: many pathogens and algae are less able to persist without standing water, while a damp sealed tent creates the conditions you are trying to prevent.
Run extraction briefly once the tent has been cleaned and rinsed, particularly if you have used a chemical sanitiser. Reassemble only clean, dry components. Use fresh growing media, clean filters where needed and new irrigation lines if there is any doubt about internal buildup.
Before new plants go in, run a plain-water test. Check every joint, dripper and pump, confirm the reservoir is free of chemical odour, and ensure drainage is flowing correctly. This also gives you a chance to spot a leaking fitting before nutrient solution and plants are involved.
Build sanitation into the growing routine
A full turnaround clean is essential between crops, but small habits prevent the next deep clean becoming a major job. Remove dead leaves promptly, keep nutrient spills off the tent floor, empty waste runoff rather than leaving it standing, and keep a separate set of tools for suspect plants if disease is present.
If you have dealt with root rot, algae, fungus gnats or powdery mildew, increase the level of cleaning and consider replacing low-cost items that cannot be inspected internally. Pipes, drippers, air stones, fabric pots and heavily used net pots can hold problems out of sight. The cost of replacing a few consumables is usually minor beside the cost of losing a healthy crop.
A disciplined clean-down protects the equipment you have already invested in and gives each new run the start it deserves. Treat it as part of system maintenance, not an optional end-of-crop chore.