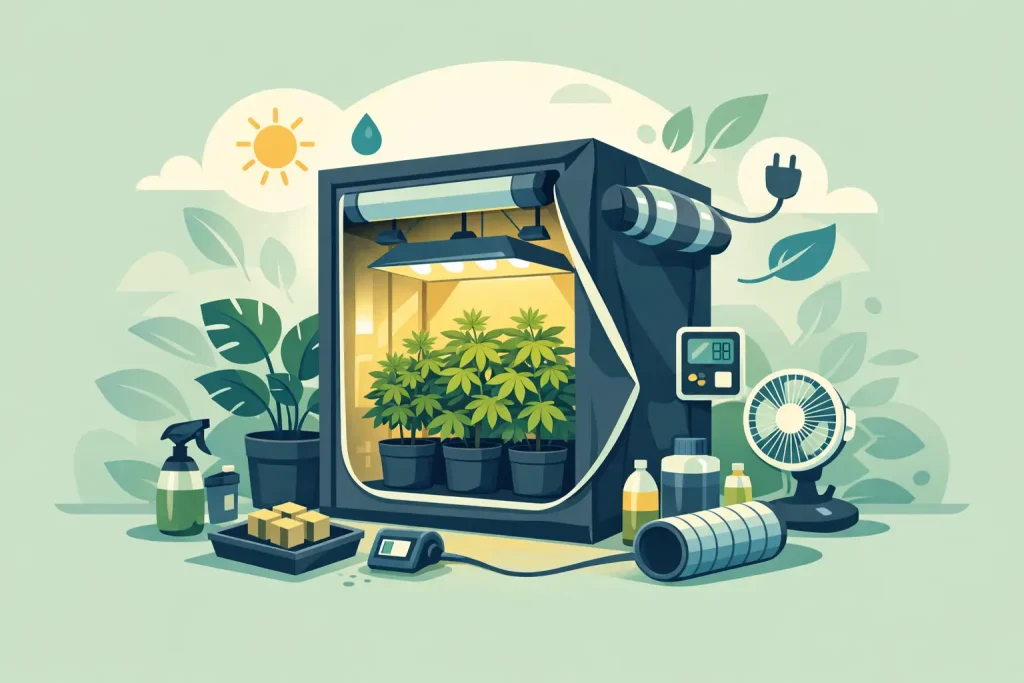
A grow tent usually underperforms for boring reasons – weak extraction, poor layout, too much light for the footprint, or not enough control over heat and humidity. A good indoor grow tent setup guide is less about buying the biggest kit and more about matching each component to the space, crop style and workload you can actually manage.
Start with the tent, not the light
Most setup mistakes begin with the wrong order of decisions. Growers often choose a light first, then try to make the tent fit around it. In practice, the tent footprint sets almost everything else: light coverage, extraction requirement, plant count, access, and irrigation layout.
For a small home setup, a 60 x 60 cm or 80 x 80 cm tent can be enough if plant numbers are low and training is part of the plan. A 100 x 100 cm or 120 x 120 cm tent gives more flexibility for pot spacing, fan placement and working room, which matters more than many first-time growers expect. If you are constantly moving pots just to water or prune, the tent is too tight for the system.
Height matters as much as floor area. Once you account for the pot, tray, fixture depth and the safe distance between canopy and lamp, usable vertical space disappears quickly. This is especially relevant if you are running HID lighting or vigorous cultivars that stretch hard in flower.
Indoor grow tent setup guide: matching the light to the footprint
Lighting should suit the tent, not the other way round. In modern tent setups, LED fixtures are the default choice for many growers because they run more efficiently than older HID systems and usually add less heat to the environment. That does not mean every LED is suitable. A weak board in a large tent gives poor edge coverage, while an oversized fixture in a small tent creates unnecessary heat and intensity management issues.
As a working approach, judge lights by actual coverage and output rather than marketing wattage alone. A quality fixture designed for a 1.2 x 1.2 m area will usually perform better than a nominally powerful unit with poor spread. If dimming is available, that gives useful headroom during propagation and early veg, especially if the tent will later be used for flowering.
There is always a trade-off between upfront spend and control. Budget lighting can work, but it often gives less uniform coverage, fewer mounting options and lower driver quality. If you want fewer environmental corrections later, a better fixture usually makes the rest of the tent easier to manage.
Hanging height and canopy control
Light setup is not just fixture choice. Hanging height, dimming and canopy management all affect plant response. If the centre of the canopy is thriving but the edges lag behind, the issue may be spread rather than total output. If leaves bleach or taco under otherwise acceptable temperatures, intensity is probably too high for the stage of growth.
This is where tent size, plant training and light choice all connect. A flat, even canopy gets more value from the fixture you already own.
Extraction is the real engine of the tent
If lighting drives growth, extraction keeps that growth usable. A tent without proper air exchange will struggle with heat, humidity, stale air and odour management. Too many growers treat extraction as an accessory when it should be specified as core equipment.
A standard setup usually includes an inline extractor fan, ducting and a carbon filter. The fan needs enough capacity to exchange air efficiently once the filter and duct runs add resistance. Long ducting routes, multiple bends and cheap filters all reduce effective airflow. On paper, the fan may look adequate. In the tent, it may not be.
For many growers, the better option is to buy slightly more extraction than the tent technically needs and run it on a controller. That gives room for seasonal swings, particularly during warmer periods when lofts, spare rooms and insulated spaces hold more heat than expected. It also helps if you upgrade the light later.
Negative pressure and odour control
A properly running tent should show slight negative pressure, with the tent walls pulling in a little. That is a useful sign that air is being extracted through the filter rather than leaking out through passive openings. If odour control matters, this is non-negotiable.
Carbon filter performance depends on airflow matching. Push too much air through a small filter and contact time drops. Undersize the fan and heat and humidity build up. Matching these parts properly saves a lot of troubleshooting later.
Air movement inside the tent
Extraction replaces air, but internal circulation prevents stagnant pockets around leaves, stems and media. Clip fans or oscillating fans should keep air moving across the canopy without battering the plants. Constant direct wind can cause stress, dry leaf edges and weak transpiration patterns that look like feed issues.
In compact tents, fan placement becomes awkward fast. One fan blasting the tops while lower growth stays still is common. Two smaller fans placed thoughtfully often work better than one aggressive unit. The aim is uniform movement, not wind tunnel conditions.
Choose the growing system before you buy the pots
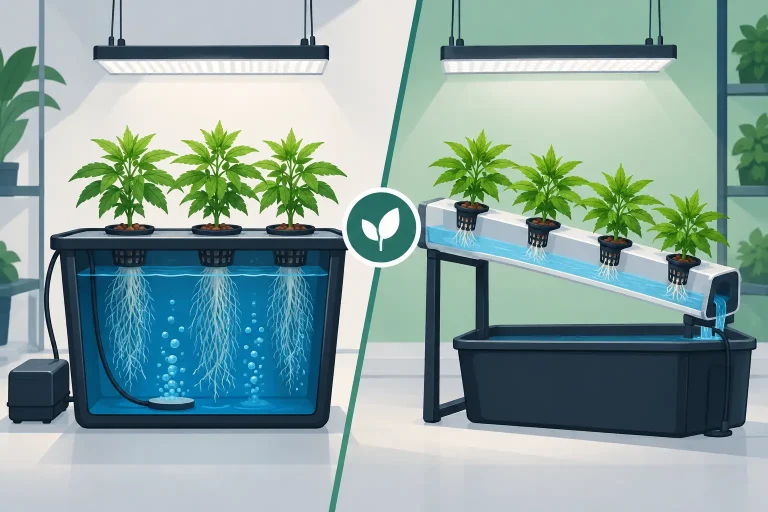
This is where a practical indoor grow tent setup guide saves money. The tent layout changes depending on whether you are hand-watering soil or coco, using AutoPot systems, running flood-and-drain, or building a recirculating hydro setup. The wrong tray size, poor drainage planning or awkward reservoir access can turn simple feeding into a daily nuisance.
Hand-watered pots are the easiest entry point because they keep equipment count low and make it easier to learn the environment first. Coco gives faster growth and tighter control, but it asks more of the grower in feeding frequency and runoff management. Fully hydroponic systems can produce excellent growth rates, though they also tighten the margin for error around water temperature, oxygenation and maintenance discipline.
If access to the back of the tent is limited, keep the system simple. There is no advantage in fitting a complex irrigation layout into a space you cannot service properly.
Temperature and humidity are not background details
A tent can have good genetics, solid nutrition and enough light, then still stall because the environment is unstable. Temperature and humidity drive transpiration, nutrient uptake and disease pressure. They are not secondary metrics.
You do not need a heavily automated room to get decent control, but you do need reliable readings. At minimum, use a proper thermometer and hygrometer at canopy level. Better still, track highs and lows so you can spot swings when lights are on and off.
In veg, slightly higher humidity is usually manageable. In flower, excessive humidity raises mould risk, especially in dense canopies and crowded tents. If your extraction cannot keep late-flower humidity down, a dehumidifier outside the tent may be more effective than trying to force a small fan to solve the problem. In colder UK spaces, lights-off temperatures can also drop harder than expected, particularly in garages and outbuildings.
Intake air quality matters
The tent environment is only as good as the air feeding it. If the lung room is already hot, damp or dusty, the tent inherits that problem. Many growers focus entirely on equipment inside the tent and ignore the room around it. Sometimes the fix is not a bigger fan but improving the surrounding space.
Power, safety and layout discipline
Cables, timers, drivers and plugs should stay organised and away from runoff. This sounds obvious, yet messy power management is common once pumps, fans and extra lighting are added. Mount power strips high, keep ballast or driver heat in mind, and leave enough slack in cables to service equipment without dragging connections across the floor.
Timers should be dependable and easy to check. If a lighting schedule slips, plant response can be expensive. If you are using pumps or irrigation controllers, label circuits clearly. In a full tent, small maintenance jobs become awkward quickly, so simple layout discipline pays off every day.
Don’t overfill the tent on the first run
A packed canopy can look efficient, but first runs are usually better when there is room to work. Extra space helps with pruning, drainage, inspection and airflow. It also gives more margin if a cultivar stretches more than expected or if one plant outpaces the others.
The same logic applies to equipment upgrades. You do not need every controller, sensor and additive from day one. Build a stable base system first: correct tent size, suitable light, matched extraction, sensible air movement and a feeding method you can keep consistent. Once that is stable, upgrades actually solve problems instead of creating new ones.
A well-built tent is not the one with the most kit in it. It is the one that holds steady day after day, lets you work without fighting the space, and gives plants the same conditions on Tuesday evening as it did on Sunday morning. If you set it up with that standard in mind, the rest of the cycle becomes far easier to manage.